Is your smart Honeywell thermostat not turning on, controlling temperature, or connecting as it should? This can be annoying, especially if your home doesn’t feel as comfortable as you want. In most cases, the problem is caused by simple issues like dead batteries, loose wiring, incorrect settings, or power supply interruptions.
Sometimes the fix is quick, but other times the problem could point to a deeper compatibility or HVAC issue. Knowing what to look for helps you avoid frustration and costly repairs. Keep reading to find out how you can troubleshoot and solve the most common reasons your smart Honeywell thermostat might stop working.
Key Takeaways
- Quick checks often solve most thermostat problems.
- Step-by-step troubleshooting helps identify and fix issues.
- Some problems may be linked to your HVAC or wiring setup.
Immediate Checks for a Non-Functional Honeywell Thermostat
When your Honeywell thermostat is not working, there are a few simple steps you can take right away. Focusing on the display, battery condition, and power supply can help you find and fix common causes quickly.
Blank or Unresponsive Display
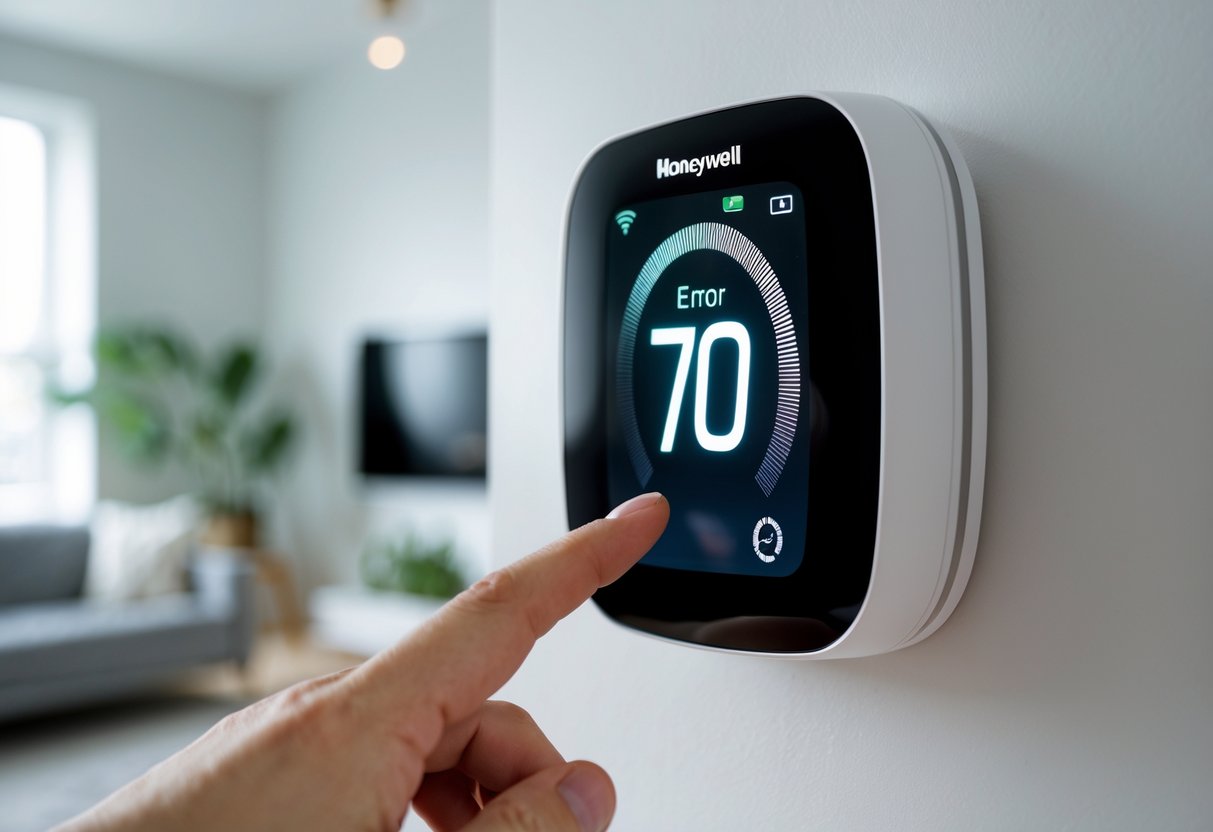
A blank display is a common problem for a Honeywell thermostat not working. Sometimes the screen might be dim, frozen, or show nothing at all. This can happen if the thermostat isn’t getting power, if the batteries are dead, or if the display itself is faulty.
First, tap the screen or press any button. Some models have a sleep mode and need a quick tap to wake up. If there’s still no response, check for loose faceplates or wires. Gently remove the thermostat from its base and inspect the connection pins. Make sure everything looks secure and undamaged.
If the display flickers or shows error codes, write down any messages. This can help you later if you contact support.
Battery Replacement Steps
Dead or weak batteries are a main reason for a Honeywell thermostat not working, especially if you have a battery-powered model. To replace the batteries:
- Remove the faceplate: Gently pull the Honeywell thermostat off the wall mount.
- Locate the battery compartment: This is often found on the back of the faceplate.
- Take out old batteries: Remove all old batteries to avoid mixing types.
- Insert new batteries: Use the correct battery type, usually AA or AAA, and check polarity.
- Reattach the faceplate: Snap the thermostat back onto its mount.
After putting in fresh batteries, the display should light up if batteries were the issue. If not, continue with other troubleshooting steps.
Ensuring Proper Power Supply
A Honeywell thermostat not working could be caused by a power issue in the home or the HVAC system. Many thermostats are wired to the home’s electrical system, sometimes using a “C-wire” for constant power. Check your home’s circuit breaker or fuse box—look for any tripped breakers or blown fuses connected to your heating and cooling system.
If your thermostat works with a furnace or air handler, check to be sure the main switch on your HVAC equipment is set to “on.” It’s also a good idea to make sure any service switches near the system are not accidentally turned off.
If the thermostat is still unresponsive after these steps, the issue might be with the wiring or HVAC equipment itself. At this point, you may need to call a professional for help.
Step-by-Step Troubleshooting Solutions
When your Honeywell thermostat is not working, it is important to check the most common problem areas. Addressing wiring connections, the furnace or air handler door, and performing a reset can resolve many issues.
Verify Thermostat Wiring Connections
Incorrect or loose wiring often causes your smart Honeywell thermostat to stop working. Power off your HVAC system at the circuit breaker before checking connections to avoid electrical shock.
Carefully remove the thermostat cover. Visually inspect each wire to make sure it is firmly inserted into the correct terminal. The most common terminals include R (power), W (heat), Y (cool), G (fan), and C (common).
If any wires are loose or disconnected, reconnect them tightly. Check for frayed or damaged wires and replace them if needed. Reference the installation manual for the proper wiring guide for your specific Honeywell model.
Tip: Use a small flathead screwdriver for securing terminals. Double-check that no bare copper is touching other wires or terminals, as this may cause a short.
Confirm Furnace or Air Handler Door Is Secure
Modern thermostats like Honeywell models rely on safety switches inside the furnace or air handler. If the access door is not fully closed, a switch may cut power, causing your thermostat display to go blank or fail to control heating and cooling.
Check the HVAC unit and find the front panel. Remove and firmly reattach the panel, ensuring it clicks securely into place. If the door switch is activated by a loose panel, your thermostat will not power on, even if all wiring is correct.
After securing the door, restore power at the breaker and see if the thermostat now functions. Make a habit of checking this after filter changes or maintenance, since these tasks often require panel removal.
Resetting the Thermostat
A thermostat reset can resolve software errors or glitches that may cause your Honeywell thermostat to stop working. For most models, go into the thermostat menu and select Reset or Factory Reset. Follow the on-screen prompts to complete the process.
On battery-operated models, you can sometimes reset the thermostat by removing the batteries, waiting 1 minute, then replacing them with the correct polarity. This can clear temporary faults.
Note: Resetting will erase all schedules and custom settings. After the reset is complete, reprogram your temperature settings and Wi-Fi connection as needed. If the thermostat still does not respond, consult your user manual or reach out to Honeywell support.
Common System Compatibility and HVAC Issues
A smart Honeywell thermostat may not work as expected due to how it interacts with different HVAC setups or when software and configuration problems get in the way. Addressing compatibility and getting settings right can help solve the most common issues.
Heat Pump System Interactions
Heat pump systems need careful configuration for your thermostat to work correctly. If your Honeywell thermostat is not working, first check if your system is a standard furnace or a heat pump. Heat pumps often need different wiring and may use an auxiliary heat wire. Use the thermostat’s setup menu to select the appropriate system type.
If your thermostat is not set for a heat pump, it may run the system in the wrong mode or not cool or heat at all. Also, check for a correctly installed jumper between R and RC terminals if required. Loose or miswired connections can make the thermostat unresponsive. Using a multimeter to verify voltage can help you check the connections: you should see 20-30VAC between specified wires.
Key Checklist for Heat Pump Compatibility:
| Step | What to Do |
|---|---|
| Check system type | Set to “heat pump” if necessary |
| Inspect wiring | Make sure wires match the label |
| Look for jumpers | Insert jumper between R/RC if needed |
| Verify voltage | Confirm 20-30VAC between R and W, or RC and Y with a multimeter |
Addressing Software and Settings Problems
Incorrect software settings can stop your Honeywell thermostat from working properly. If your screen is blank or unresponsive, check the batteries or power supply. For Wi-Fi models, confirm the device is registered on the correct network. A mismatch here can prevent the thermostat from sending commands to your HVAC system.
Go through the configuration options in the thermostat’s menu. Make sure the mode (heat, cool, auto) matches what you need. Settings for minimum run times, compressor protection delays, or schedule overrides can affect how your system responds. Sometimes, a simple reset (using the reset procedure from your manual) can clear software glitches.
If you recently replaced batteries or adjusted wiring, double-check the orientation and ensure all wires are secure. Misplaced or loose wires are a common reason why digital thermostats do not respond. For models connected to Wi-Fi, check the signal strength and confirm your network supports 2.4GHz if required. If errors persist, try re-registering your device or restart both your router and thermostat.
