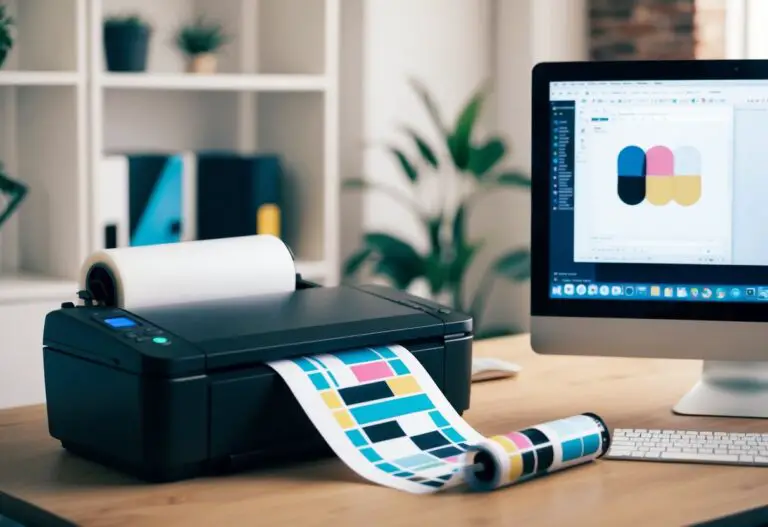
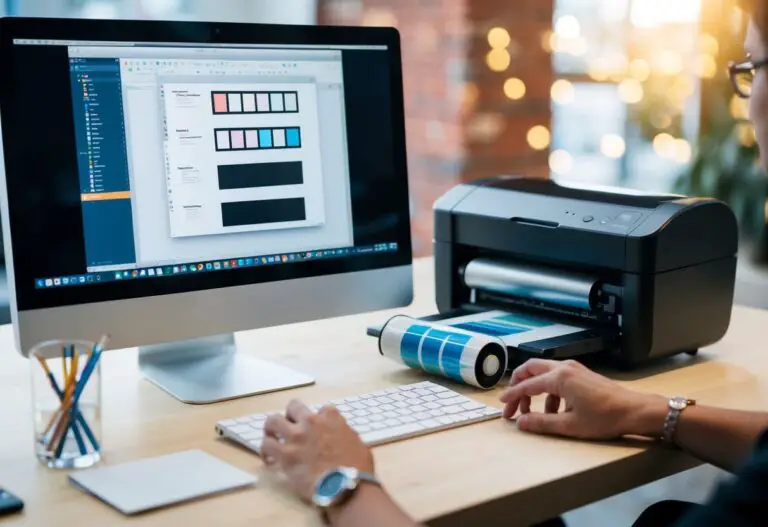
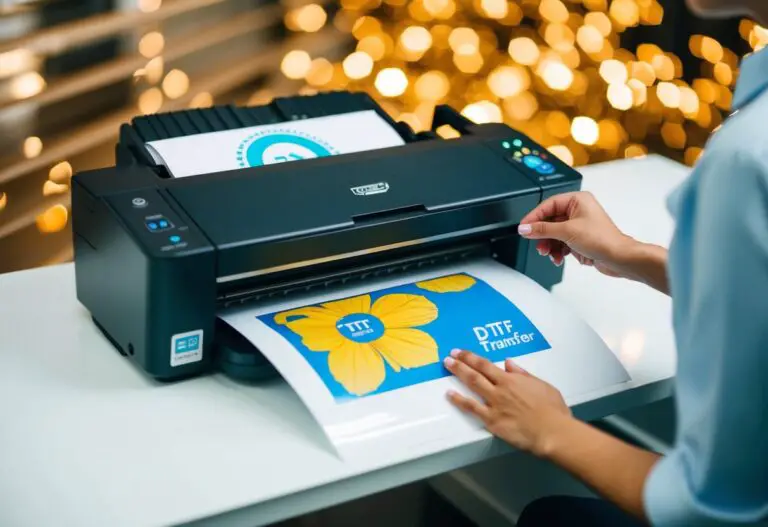
DTF printing is changing the game for custom apparel and accessories. If you’re looking to dive into this exciting field, picking the right software is key. The best software for DTF printing includes specialized RIP programs like EKPRINT and ColorGATE, as well as versatile design tools like Adobe Illustrator and CorelDRAW.

These programs help you create, edit, and prepare designs for DTF printing. They let you adjust colors, mirror images, and set up print layouts. Some even offer features tailored just for DTF, making your workflow smoother.
Choosing the right software depends on your skill level and needs. Beginners might start with user-friendly options, while pros may prefer more advanced tools. No matter what you pick, good software will help you make eye-catching DTF prints that stand out.
Key Takeaways
- Specialized RIP software is essential for preparing designs for DTF printing
- Design tools like Adobe Illustrator can help create and edit artwork for DTF transfers
- Software choice should match your skill level and specific DTF printing needs
DTF Film Characteristics
DTF film is a crucial component in the direct-to-film printing process. It’s made of PET, a durable plastic material. The film usually comes in thicknesses between 0.075mm and 0.100mm.
You’ll notice two distinct sides on DTF film. One side is matte, while the other is glossy. This difference is important for proper printing and transfer.
When buying DTF film, you’ll find various roll sizes available. Common dimensions include 11.8″ x 100′ and 23.6″ x 100′. Choose the size that best fits your printer and project needs.
The film’s surface affects color reproduction in your prints. It’s designed to accept ink well, allowing for vibrant and accurate colors. This is key for creating high-quality transfers.
Different print modes can be used with DTF film. You can adjust settings like resolution and color depth to get the best results for each project.
Heat transfer is a critical step in the DTF process. The film’s properties allow it to withstand the heat needed to transfer your design onto fabric.
Templates can be helpful when working with DTF film. They can guide your design placement and ensure you make the most of each sheet.
Remember, proper handling of DTF film is essential. Store it in a cool, dry place and handle it carefully to avoid damaging the print surface.
Identifying The Correct Side For Printing
Choosing the right side of your DTF film is key for great prints. The matte side is where you want to put the ink. It has a special coating that helps the ink stick well.
You can tell which side is which by looking and feeling. The matte side is duller and feels slightly rough. The glossy side is shiny and smooth. Don’t print on the glossy side – your ink won’t stick properly.
Here’s a quick way to check:
- Gently scratch a corner of the film
- If you see some powder on your finger, that’s the matte side
- No powder means it’s the glossy side
Getting this right is super important. If you print on the wrong side, your designs won’t look good and might not transfer well. The DTF powder also won’t stick properly to the glossy side.
Most DTF printing software has a user interface that lets you flip your design. This helps make sure you’re printing on the correct side of the film. Double-check your settings before you start printing to avoid wasting materials.
Printing On The Matte Side
When using DTF printing, it’s crucial to print on the correct side of the film. You’ll want to use the matte side for best results. This side has a slightly textured surface that helps the ink stick better.
Printing on the matte side gives you brighter, more vibrant colors. The ink settles into the tiny grooves, creating sharper images. You’ll also have less chance of smudges or smears as the ink dries.
If you accidentally print on the glossy side, you might run into problems. The image quality won’t be as good, and the ink may not stick well. In some cases, it could even damage your printer.
To avoid mistakes, always double-check which side is matte before loading the film. You can feel the difference – the matte side will be slightly rough to the touch. Taking this extra step can save you time and materials in the long run.
Remember, using the right side of the film is key to getting great DTF prints. It helps ensure your designs look their best and last longer on fabric.
Tips For Proper DTF Film Handling
Storing your DTF film correctly is key. Keep it in a cool, dry place away from sunlight. This helps the film last longer and work better.
When you touch the film, be careful. Use clean hands or wear gloves. This stops oils and dirt from getting on the film.
Loading the film into your printer takes care. Make sure it’s straight and smooth. This helps avoid jams and ensures good prints.
Keep your work area clean. Dust and dirt can ruin your prints. Wipe down surfaces often and use air filters if needed.
Before you start, check your film. Look for any damage or wrinkles. Using bad film can waste time and ink.
Handle the film by its edges. This stops smudges in the middle where you’ll be printing.
Store unused film in its original package. This protects it from light and dust.
When you’re done printing, clean your workspace. Put away extra film and tidy up. This sets you up for success next time.
Common Mistakes And Troubleshooting
DTF printing can be tricky at first. You might face some issues, but don’t worry. Here are some common mistakes and how to fix them.
Printing on the wrong side
Make sure you print on the matte side of the film. The glossy side won’t hold the ink well. Double-check before you start printing.
Film problems
Your film might curl or wrinkle during printing. This can ruin your design. To avoid this:
- Store your film flat
- Use a film that’s made for DTF printing
- Keep your print area clean and dry
Ink issues
Sometimes ink can bleed or spread on the film. This makes your print look fuzzy. To fix this:
- Use the right ink for DTF printing
- Adjust your printer settings
- Make sure your film is compatible with your ink
Print quality
Poor print quality can be frustrating. Here are some tips to get better prints:
- Clean your print heads often
- Use high-quality inks
- Check your color settings
Remember, practice makes perfect. Don’t get discouraged if your first few prints aren’t great. Keep trying and you’ll get better results.
DTF Film Quality And Selection
Choosing the right DTF film is key for great prints. You need to look at a few things when picking film.
Film thickness matters. Thinner films work better for detailed designs. Thicker ones are good for durability. Most DTF films are 75-100 microns thick.
The coating on the film affects how well ink sticks. Look for films with even, smooth coatings. This helps your prints come out crisp and clear.
Some top DTF film brands are:
- Forever Transfer Paper
- Neenah Image Clip
- TransferRite Ultra Clear
These offer good quality at different price points. Try samples to see what works best for you.
Consider your specific needs when choosing film. If you print lots of light colors, get film that handles white ink well. For photo prints, pick film that gives vibrant colors.
Price is also important. Cheaper films can save money, but may not last as long. More expensive ones often give better results. Balance cost with the quality you need.
Testing different films helps you find the best fit. Keep notes on how each performs with your printer and designs.
Frequently Asked Questions
DTF printing requires specific file formats and software for the best results. Let’s look at a key question about file formats for DTF printing.
What file format is needed for successful DTF printing?
PNG files work well for DTF printing. They allow for transparent backgrounds, which is helpful for many designs. You can also use other common image formats like JPG, BMP, or GIF.
To create or edit your designs, you have many software options. Adobe Photoshop, Illustrator, and CorelDRAW are popular choices for making DTF-ready artwork. If you want free alternatives, try GIMP or Inkscape.
After you finish your design, you’ll need RIP software to prepare it for printing. AcroRIP and CADlink Digital Factory are two options made for DTF printing. These programs help ensure your design prints correctly on the DTF film.
Remember to check that your chosen software works with your printer. Some printers may need specific programs to function properly.
