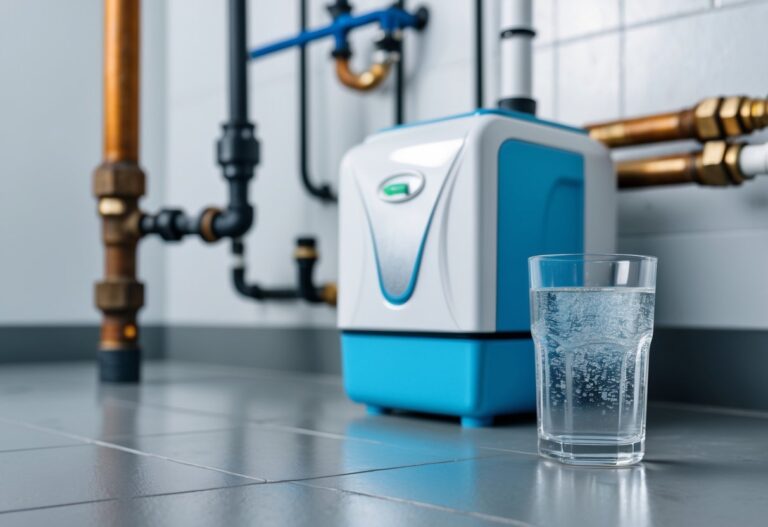
If you’ve noticed soap scum on your shower doors or white spots on your dishes, your water softener might not be set correctly. Getting the right hardness setting can feel confusing with all the numbers and technical terms, but it’s easier than you think.

Your water softener hardness should typically be set between 25-35, matching your actual water hardness level measured in grains per gallon (gpg). This setting removes enough minerals to protect your appliances and improve water quality without wasting salt or over-softening your water.
The key is testing your water first and adjusting based on what you find. Most people start with a setting of 30 and fine-tune from there based on how their water feels and performs around the house.
Key Takeaways
- Test your water hardness every six months and set your softener to match those results
- Start with a setting of 30 for average hardness levels and adjust based on your water’s performance
- Monitor for scale buildup or slippery water as signs that your settings need adjustment
Optimal Water Hardness Levels For Softened Water
Proper water hardness levels after softening typically range from 0-3 grains per gallon, with most systems targeting complete mineral removal. Understanding these measurements helps you achieve the right balance for your household needs.
Recommended Ranges in mg/L, gpg, and ppm
Your softened water should measure 0-3 grains per gallon (gpg) for optimal results. This equals 0-60 mg/L or 0-60 ppm.
Most water softeners aim for complete hardness removal. Your system should produce water at or near 0 gpg when working properly.
Target ranges by measurement:
- Grains per gallon: 0-3 gpg
- Milligrams per liter: 0-60 mg/L
- Parts per million: 0-60 ppm
You can set your water softener to leave slight hardness if the water feels too slippery. Some people prefer 1-2 gpg (17-34 mg/L) for better feel.
Test your softened water monthly to verify these levels. Use test strips or digital meters for accurate readings.
How to Identify Soft, Hard, and Very Hard Water
Soft water (0-3 gpg) feels slippery and creates rich soap lather. You’ll notice no mineral spots on dishes or fixtures.
Moderately hard water (3-7 gpg) still lathers soap but leaves some mineral deposits. Your skin may feel slightly dry after washing.
Hard water (7-10 gpg) creates soap scum and mineral buildup. You’ll see white spots on glassware and reduced appliance efficiency.
Very hard water (over 10 gpg) causes significant scale buildup. Soap barely lathers and appliances fail faster.
Your water softener should convert any hardness level to the soft water range. If you still see signs of hard water, adjust your system settings.
Benefits of Achieving Proper Water Hardness
Properly softened water protects your appliances from mineral damage. Your water heater, dishwasher, and washing machine last longer with soft water.
You’ll use 25-50% less soap and detergent with softened water. Clothes feel softer and colors stay brighter longer.
Your skin and hair benefit from soft water. Hard water minerals can cause dryness and irritation.
Plumbing systems stay cleaner with optimal water hardness levels. You avoid costly pipe replacements from mineral buildup.
Energy costs decrease when your water heater operates efficiently. Scale-free heating elements work better and use less power.
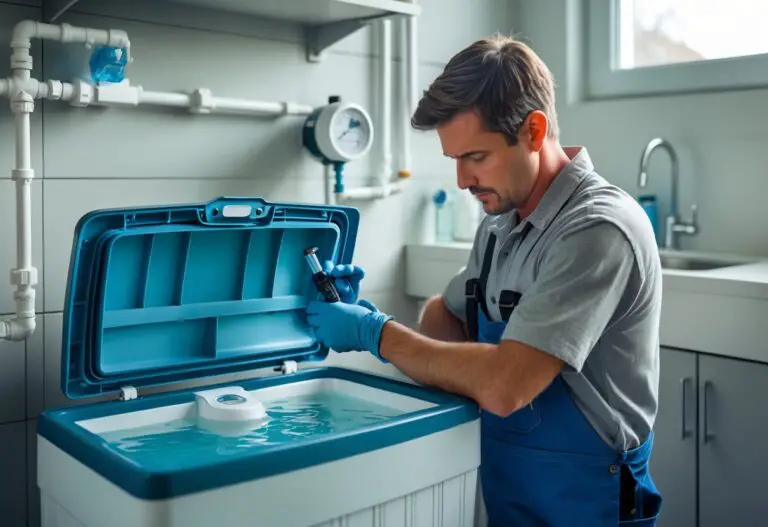
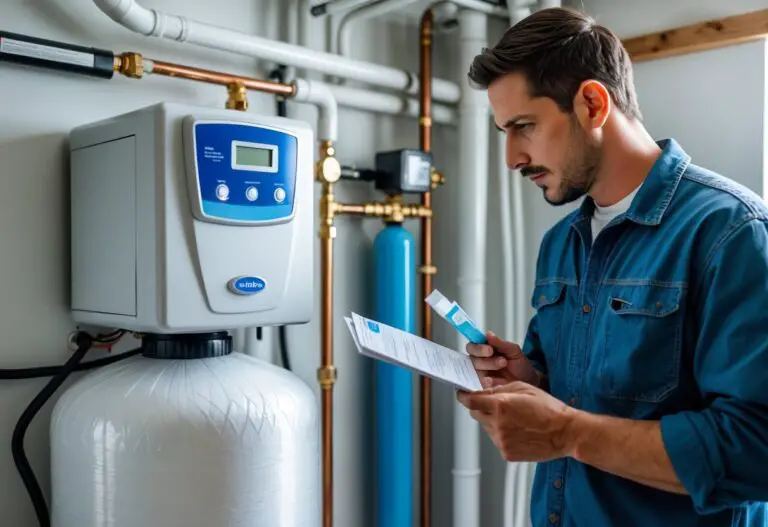
How To Test and Measure Your Water Hardness
Testing your water hardness helps you set your softener correctly and protect your home’s plumbing. You can use simple home kits, check water quality reports, or hire professionals for accurate results.
Home Testing Methods and Kits
You have several ways to test water hardness at home. The simplest method uses test strips that change color when dipped in water.
Test strips cost $5-15 and give results in minutes. Dip the strip in water, wait 30 seconds, then match colors to the chart. These work well for basic testing but lack precision.
Digital test kits provide more accurate readings. They measure calcium and magnesium levels in parts per million (ppm) or grains per gallon (gpg). These kits cost $20-50 but give professional-level results.
Soap bubble tests offer a free testing method. Fill a clear bottle with water and add liquid soap drop by drop. Hard water needs more soap to create bubbles.
| Test Method | Cost | Accuracy | Time |
|---|---|---|---|
| Test strips | $5-15 | Basic | 2 minutes |
| Digital kits | $20-50 | High | 5 minutes |
| Soap test | Free | Low | 10 minutes |
Buy water hardness test kits from hardware stores or online. Choose kits that measure both calcium and magnesium for complete water quality testing.
Understanding Water Hardness Reports
Your local water company provides annual water quality reports that include hardness levels. These reports show average hardness throughout the year.
Look for terms like “total hardness,” “calcium carbonate,” or “CaCO3” in the report. Numbers appear as ppm or gpg measurements.
Soft water measures 0-60 ppm (0-3.5 gpg). Moderately hard water ranges from 61-120 ppm (3.6-7 gpg). Hard water measures 121-180 ppm (7.1-10.5 gpg).
Water companies test at treatment plants, not individual homes. Your actual hardness may differ due to local pipes or wells.
Contact your water provider if you cannot find hardness information. Most companies provide this data free upon request.
Keep copies of water hardness reports for reference when setting your softener. Update your records when new reports become available.
Frequency and Best Practices for Testing
Test your water hardness every 6 months to maintain proper softener settings. Water hardness changes with seasons, weather, and source conditions.
Spring and fall testing catches seasonal variations. Heavy rains can reduce hardness while drought conditions often increase mineral levels.
Test immediately if you notice changes in water quality. Signs include soap scum buildup, spotty dishes, or dry skin after showers.
Take water samples from cold taps closest to your main water line. Avoid testing hot water or water that has sat in pipes overnight.
Best testing practices:
- Use fresh water samples
- Test at the same time each season
- Record results with dates
- Compare readings over time
Replace test strips every 2 years as they lose accuracy over time. Store testing materials in cool, dry places away from direct sunlight.
Professional testing costs $25-75 but provides the most accurate water hardness measurements. Consider professional tests when installing new softeners or troubleshooting water quality issues.
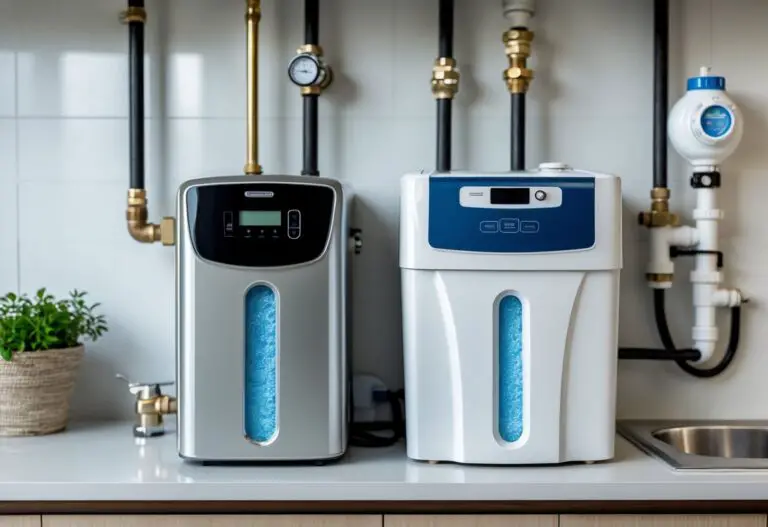
Setting and Adjusting Your Water Softener
Setting your water softener correctly requires precise calculations that account for your water’s hardness level, contaminants like iron and manganese, and system-specific factors. The right hardness setting ensures optimal performance while avoiding waste of salt and water.
Calculating the Right Water Softener Hardness Setting
Your water softener hardness setting should match your water’s actual mineral content. Start by testing your water to determine the exact hardness level in grains per gallon (gpg).
Most home water contains calcium and magnesium minerals. These create the hardness that your softener removes through ion exchange.
Basic hardness categories:
- Soft: 0-3.5 gpg
- Moderately hard: 3.5-7.0 gpg
- Hard: 7.0-10.0 gpg
- Very hard: Over 10.0 gpg
Use a water test kit or check your local water authority’s report. Well water users should test annually since mineral levels can change.
Your initial water softener hardness setting should equal your tested hardness level. A home with 8 gpg hardness would start with a setting of 8.
Account for Iron, Manganese, and Other Contaminants
Iron and manganese require special attention in your water softener settings. These metals interfere with the softening process and need higher settings to remove properly.
Add these amounts to your base hardness setting:
- Iron: Multiply ppm by 4
- Manganese: Multiply ppm by 6
For example, water with 6 gpg hardness plus 2 ppm iron needs a setting of 14 (6 + 8). Water with 1 ppm manganese adds 6 to your base setting.
High iron levels above 3 ppm may require a separate iron filter before your softener. The ion exchange resin can only handle limited iron without fouling.
Test for these contaminants using specialized test strips or professional lab analysis. Iron appears as rust stains while manganese causes black staining.
Factors: Water Usage, Softener Age, Resin Efficiency
Several factors affect how you should adjust your water softener hardness level beyond basic mineral content. These ensure consistent soft water output.
Add 2 gpg buffer for:
- High daily water usage
- Softeners over 5 years old
- Fluctuating water conditions
Older softeners lose resin efficiency over time. The ion exchange process becomes less effective as resin beads wear out.
Heavy water usage can overwhelm your system between regeneration cycles. The buffer prevents breakthrough hardness during peak demand.
Seasonal adjustments may be needed since municipal water hardness can vary throughout the year. Monitor your water quality and adjust settings accordingly.
Your final water softener hardness setting equals: Base hardness + (Iron × 4) + (Manganese × 6) + 2 gpg buffer.
Practical Water Softener Maintenance Tips
Regular maintenance keeps your water softener working at peak performance and prevents costly repairs. Three key areas require your attention: proper regeneration cycles and settings adjustments, scale prevention, and salt management with brine tank care.
Regenerating and Adjusting Settings for Consistent Results
Check your water hardness twice per year to ensure your softener settings match current conditions. Water hardness can change due to seasonal variations or local construction work.
Test your treated water monthly using hardness test strips. If the strips show hardness above 1 GPG, your settings need adjustment.
Regeneration frequency depends on these factors:
- Your water’s hardness level
- Daily water usage
- System age and capacity
Newer systems regenerate based on actual water usage. Older systems use timer-based cycles that may need manual adjustment.
Power outages reset many softeners to factory defaults. Write down your current settings and check them after any power interruption.
For systems over 10 years old, add 1-2 GPG to your hardness setting. Aging resin becomes less efficient at removing minerals.
Identifying and Preventing Scale and Mineral Buildup
Watch for these warning signs of scale buildup:
- White spots on dishes and glassware
- Soap scum that won’t rinse clean
- Reduced water pressure
- Appliance efficiency problems
Check your resin bed every six months for mineral buildup. Brown or orange coloring indicates iron contamination that requires special cleaning.
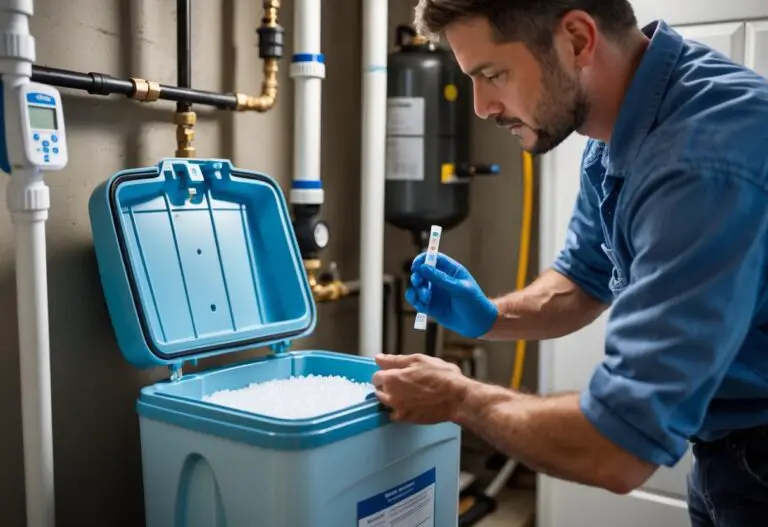
Clean the brine tank annually to prevent salt bridges and mineral deposits. Empty the tank completely and scrub with warm water.
Scale prevention steps:
- Maintain proper salt levels
- Use high-quality salt pellets
- Clean the venturi valve quarterly
- Replace worn O-rings and seals
If scaling persists despite proper settings, test for iron content. Iron requires additional water treatment beyond standard water softening.
Salt Refills, Brine Tank Care, and Ongoing Water Quality
Keep salt levels between one-third and two-thirds full in your brine tank. Check monthly and refill before the salt drops below the water line.
Use salt pellets instead of rock salt or blocks. Pellets dissolve more completely and create less residue in your brine tank.
Monthly brine tank maintenance:
- Break up salt bridges with a broom handle
- Remove any undissolved salt chunks
- Check for proper water levels
Clean your brine tank every 12 months. Remove all salt, scrub the walls, and check the float assembly for proper movement.
Test your water quality every three months using hardness strips. Consistent soft water readings confirm your maintenance routine works effectively.
Replace your resin bed every 10-15 years depending on usage and water conditions. Signs include persistent hardness despite proper settings and increased salt consumption.