Smart thermostats make controlling your home’s temperature easy, but they can stop working when you need them most. Most smart thermostat problems like power issues, Wi-Fi disconnections, and incorrect temperature readings can be fixed with simple troubleshooting steps you can do yourself. When your heating or cooling system acts up, it’s often not the thermostat itself but a simple setting or connection problem.

You don’t need to be a tech expert to get your smart thermostat working again. Many issues that seem complicated have quick fixes. Understanding what goes wrong and how to solve it saves you money on repair calls and keeps your home comfortable.
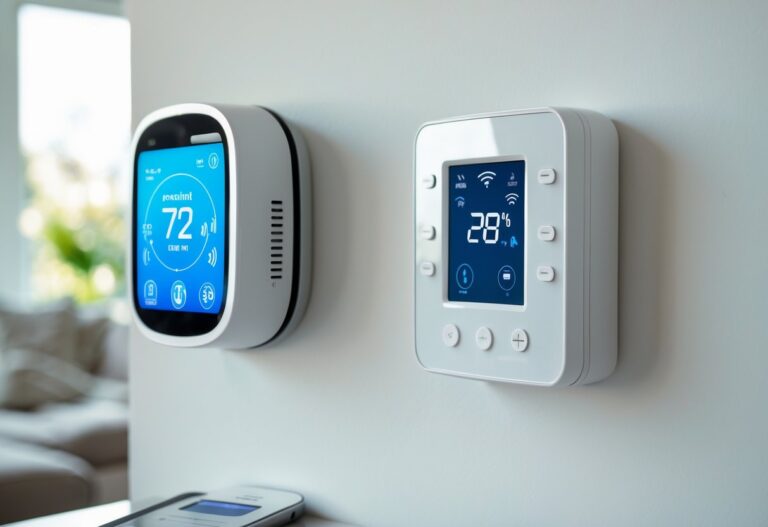
This guide walks you through the most common smart thermostat problems. You’ll learn how to check power connections, fix Wi-Fi issues, adjust settings, and know when to call for help. These solutions work for all major brands including Nest, Ecobee, Amazon, and Honeywell Home.
Key Takeaways
- Check power sources, Wi-Fi connections, and mode settings first when your thermostat stops working
- Temperature problems often come from sensor calibration issues or incorrect system configurations
- Most thermostat issues can be fixed at home without calling a professional
Power and Display Issues
A blank screen or unresponsive smart thermostat usually points to power supply problems, faulty wiring, or internal system errors. These issues can stop your HVAC system from working properly and leave you without temperature control.
Dead or Blank Screen Troubleshooting
A completely dark screen means your smart thermostat isn’t getting power. Start by checking your circuit breaker to make sure nothing has tripped. Reset any tripped breakers and wait a minute to see if the display comes back on.
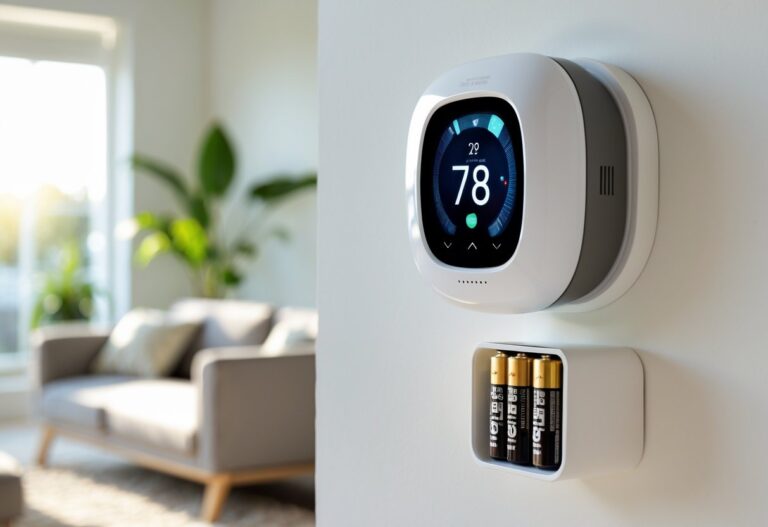
If the breaker is fine, check the batteries. Many smart thermostats use batteries as backup power or as their main power source. Remove the thermostat from the wall plate and replace the batteries with fresh ones.
The c-wire (common wire) often causes power issues in smart thermostats. This wire provides constant power to keep your device running. If your thermostat installation didn’t include a c-wire, your device might not have enough power to function. You can add a c-wire adapter or call an HVAC technician to install proper wiring.
Check if the display brightness is just turned down very low. Some models let you adjust brightness, and it might look off when it’s just dim.
Thermostat Not Responding to Inputs
When your thermostat screen is on but won’t respond to touches or button presses, try a restart first. Remove the thermostat from its wall plate for 30 seconds, then reattach it. This simple reset fixes most frozen screens.
Dirty screens can cause touch response problems. Clean the display gently with a soft, dry cloth. Don’t use any liquids or harsh cleaners that could damage the screen.
If restarting doesn’t help, your thermostat might need a factory reset. Check your device’s manual for the specific reset process. Keep in mind that this will erase your settings and you’ll need to set everything up again.
Wiring problems can also make your thermostat behave strangely. Loose connections at the wall plate might cause intermittent response issues. Turn off power at your circuit breaker before checking any wires.
Frequent Power Loss or Unexpected Shutdowns
Random shutdowns or power cycling usually mean your smart thermostat isn’t getting stable power. Check if your HVAC system is drawing too much power for your current wiring setup. Some older systems weren’t designed to power modern smart thermostats.
Low battery warnings that appear constantly suggest the batteries aren’t charging properly or the power supply is insufficient. Replace the batteries first, then check your c-wire connection. A loose or missing c-wire is the most common cause of power stability issues.
Your thermostat might also shut down if it overheats. Make sure it’s not installed in direct sunlight or near heat sources like lamps or appliances. Poor airflow around the device can cause temperature-related shutdowns.
If you’ve checked all these things and still have thermostat problems, you might need professional thermostat repair. An HVAC technician can test your wiring, check your HVAC system’s compatibility, and fix any electrical issues safely.
Connectivity and Network Problems
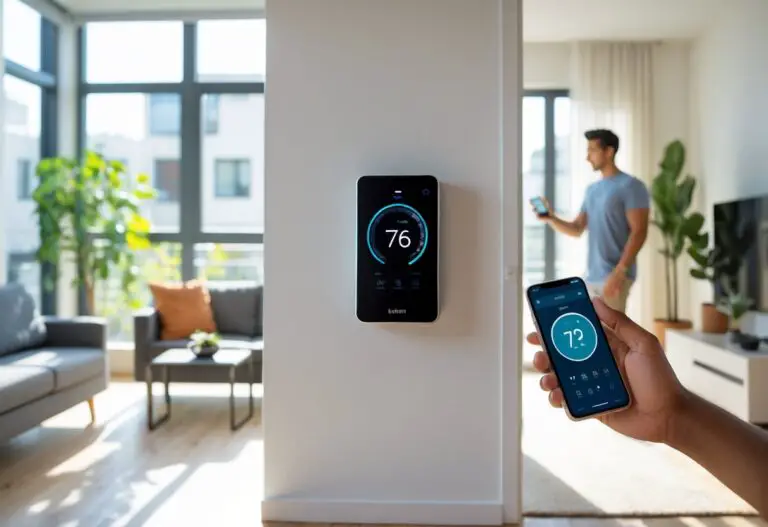
Smart thermostats rely on stable internet connections to function properly, and when connectivity fails, you lose access to remote control, scheduling, and energy tracking features. Most connection problems stem from Wi-Fi signal issues, incorrect network settings, or compatibility mismatches between your thermostat and router.
Wi-Fi Connection Drops and Instability
Your smart thermostat may struggle to maintain a steady Wi-Fi connection due to weak signal strength or interference from other devices. Check the signal strength in your thermostat’s settings menu to determine if your router is too far away or if walls and appliances are blocking the signal.
Move your router closer to the thermostat or install a Wi-Fi range extender to boost coverage in that area. Electronic devices like microwaves, baby monitors, and cordless phones can interfere with your Wi-Fi signal and cause frequent disconnections.
Power cycle both your router and thermostat to refresh the connection. Unplug your router for 30 seconds, plug it back in, and wait for it to fully restart. Then restart your thermostat according to the manufacturer’s instructions.
If drops continue, check for outdated firmware on your thermostat. Software glitches in older versions can cause connection instability, so install any available updates through your thermostat’s app or settings menu.
Incorrect Wi-Fi Password Solutions
Entering the wrong Wi-Fi password is one of the most common reasons your thermostat won’t connect to your network. Your thermostat will display an error message or fail to complete the setup process when the password is incorrect.
Double-check your password by viewing it on a device that’s already connected to your network. On most routers, you can find the default password printed on a label on the bottom or back of the device.
When entering your Wi-Fi password on the thermostat, pay attention to uppercase and lowercase letters, numbers, and special characters. Even one incorrect character will prevent connection. Some thermostats have small screens that make it difficult to see what you’re typing, so take your time during entry.
If you recently changed your Wi-Fi password, you’ll need to reconnect your thermostat using the new credentials. Navigate to the Wi-Fi settings on your thermostat and select your network to re-enter the updated password.
2.4 GHz vs. 5 GHz Compatibility
Most smart thermostats only connect to 2.4 GHz Wi-Fi networks and won’t recognize or connect to 5 GHz bands. Check your thermostat’s specifications to confirm which frequency bands it supports before troubleshooting.
Modern routers often broadcast both 2.4 GHz and 5 GHz networks, sometimes under the same network name. This can confuse your thermostat during setup. Log into your router’s settings and create separate network names for each band, or temporarily disable the 5 GHz network during thermostat setup.
The 2.4 GHz band offers better range and wall penetration than 5 GHz, making it more suitable for smart thermostats that are often installed far from routers. If your thermostat supports both frequencies but keeps disconnecting from 5 GHz, switch it to the 2.4 GHz network for more stable performance.
App and Device Syncing Errors
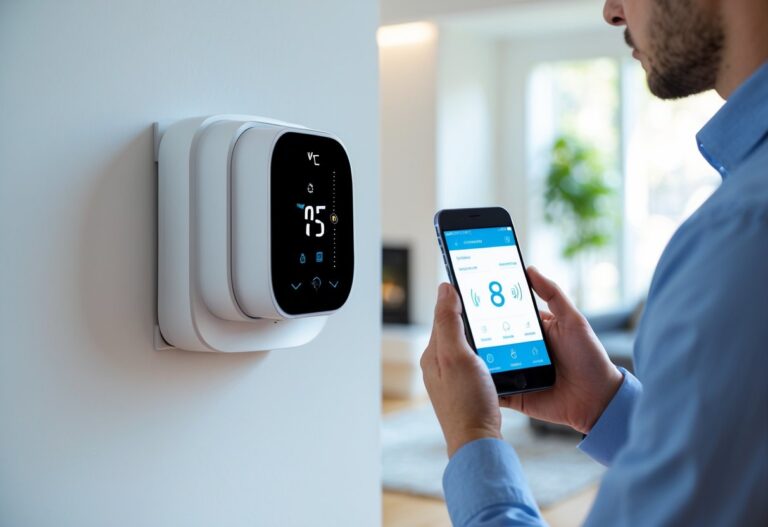
Your thermostat may connect to Wi-Fi but fail to sync properly with its companion app on your phone. This prevents you from adjusting settings remotely or receiving notifications about temperature changes.
Update the thermostat’s app to the latest version through the Google Play store or Apple App Store. Outdated app versions often have bugs that cause syncing problems. Check that your thermostat firmware is also current by reviewing the settings menu or manufacturer’s website.
Log out of the app completely and log back in to refresh the connection between your account and thermostat. If that doesn’t work, remove the thermostat from your app and add it again by following the pairing process.
Verify that your app has the necessary permissions enabled on your phone, including location services and background app refresh. These permissions allow the app to communicate with your thermostat even when you’re not actively using it.
Temperature and Sensor Calibration Issues
Sensor calibration problems cause your smart thermostat to display incorrect temperature readings, which leads to discomfort and wasted energy. These issues often stem from sensor drift, poor placement, or environmental factors that interfere with accurate measurements.
Inaccurate Temperature Readings Causes
Your smart thermostat may show inaccurate temperature readings for several reasons. Over time, sensors naturally drift from their original calibration settings, causing them to report temperatures that are 2-5 degrees off from the actual room temperature. This drift happens gradually as the sensor components age.
Electrical issues also contribute to incorrect temperature readings. Loose wiring connections prevent your sensor from communicating properly with the thermostat. Corroded or damaged wires create resistance that affects the sensor’s ability to measure temperature accurately.
High humidity levels can damage sensor components and lead to false readings. When moisture builds up inside the sensor, it changes how the sensor detects temperature. Low-quality sensors are more prone to these problems than higher-grade components.
Your thermostat settings can also affect accuracy. If you recently changed system settings or installed new firmware, the sensor may need recalibration to work correctly with the updated software.
Sensor Placement and Environmental Interference
Where you place your thermostat directly affects sensor accuracy. Mounting your device near windows, doors, or vents exposes it to drafts that skew temperature readings. Direct sunlight heating the thermostat causes it to read higher than the actual room temperature.
Poor locations for thermostats:
- Within 3 feet of supply vents or return air grilles
- On exterior walls that conduct outside temperatures
- Near heat-producing appliances or electronics
- In hallways or rooms you rarely use
- Areas with limited air circulation
Your sensor needs proper airflow to measure average room temperature. Blocking the thermostat with furniture or decorations traps warm or cool air around the device. This creates a microclimate that doesn’t match the rest of your home.
Install your thermostat on an interior wall about 5 feet from the floor. Choose a room you use often that represents typical home comfort needs. Keep the area around the device clear for at least 18 inches.
Calibration Methods for Optimal Accuracy
Most smart thermostats include manual calibration features in their settings menu. You can adjust the temperature offset by comparing your thermostat’s reading to a reliable digital thermometer placed nearby. If your thermostat reads 72°F but the actual temperature is 70°F, set a -2°F offset to correct the difference.
Check your device’s app or settings for calibration options. Some models let you adjust in 1-degree increments, while others offer half-degree precision. Wait 30 minutes after making changes to see if the adjustment improved accuracy.
Basic calibration steps:
- Place an accurate thermometer near your thermostat
- Wait 15-20 minutes for stable readings
- Compare the two temperature displays
- Access calibration settings in your thermostat menu
- Enter the offset value to correct the difference
- Test the system over 24 hours to verify results
Newer smart thermostat models offer auto-calibration features that learn from your environment. These systems track patterns and adjust sensor readings automatically. If your device has this feature, enable it and allow several days for the system to optimize its accuracy.
Replace your thermostat sensors every 3-5 years to maintain reliable performance. When calibration no longer fixes your HVAC system’s temperature problems, the sensor may be permanently damaged and require replacement.
Settings, Scheduling, and Advanced Fixes
Smart thermostats often need schedule adjustments, firmware updates, or professional repairs to work correctly. Incorrect settings can waste energy, while software glitches may prevent your device from following your preferred temperature routines.
Fixing Incorrect Schedules or Modes
Check your thermostat’s schedule to confirm it matches your daily routine. Look at the programmed times and temperatures through the device screen or app. If the schedule doesn’t align with when you’re home or away, adjust it manually.
Common schedule problems include:
- Override modes that ignore your regular programming
- Vacation settings left active after returning home
- Incorrect time zones causing temperature changes at wrong times
Verify your thermostat displays the correct date and time. An incorrect clock will trigger heating or cooling at the wrong hours. This wastes energy and reduces comfort.
Reset your schedule if you notice persistent issues. Most thermostats have a reset option in the settings menu that clears programming errors. After resetting, reprogram your schedule from scratch and save the changes.
Replace batteries if your thermostat uses them. Low battery power causes schedule glitches and unexpected resets. Fresh batteries keep your device running smoothly and maintaining accurate settings.
Firmware Updates and Software Glitches
Update your thermostat’s firmware regularly to fix bugs and improve performance. Manufacturers release updates that address software glitches and enhance energy savings. Check for updates through your device’s app or settings menu.
To update firmware:
- Open your thermostat’s app or web portal
- Navigate to settings or device information
- Select check for updates or firmware version
- Download and install available updates
Software glitches can cause unresponsive screens, failed schedule execution, or connectivity drops. Restart your thermostat by removing it from the wall plate for 30 seconds, then reattaching it. This clears temporary errors.
If problems continue after updating and restarting, perform a factory reset. This removes all custom settings but often resolves stubborn glitches. You’ll need to reprogram your schedule and reconnect to Wi-Fi afterward.
When to Call a Professional Technician
Contact HVAC services if your thermostat still malfunctions after trying basic fixes. Professionals can diagnose wiring problems, compatibility issues, or system failures that home troubleshooting can’t resolve.
Call a technician when you notice:
- No power to the thermostat despite checking breakers and batteries
- Heating or cooling system not responding to temperature commands
- Repeated error codes that persist after resets
- Physical damage to the thermostat or wall plate
Thermostat repair by licensed professionals ensures your system works safely and efficiently. They have specialized tools to test electrical connections and calibrate sensors. Many common smart thermostat issues require expert knowledge of HVAC systems to fix properly.
If your device is under warranty, contact the manufacturer’s support team before hiring outside help. They may offer free replacements or repairs for defective units.