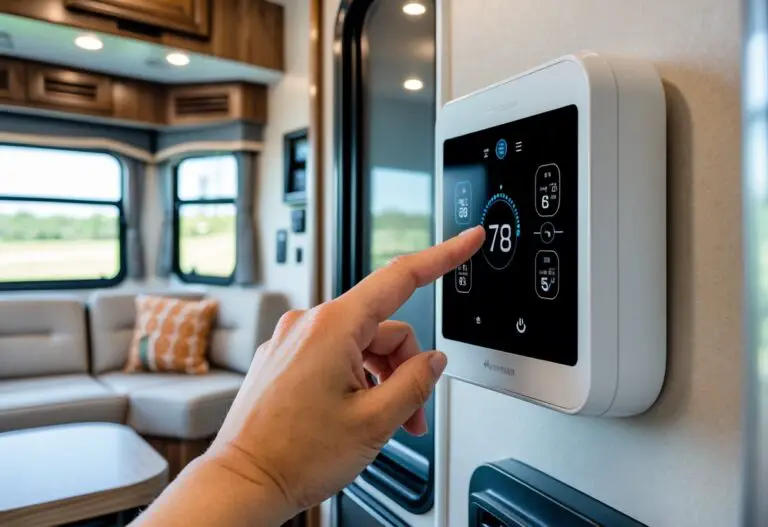
Installing a smart thermostat can save you money on energy bills and give you better control over your home’s comfort. Many people think this upgrade requires an electrician, but most smart thermostat installations take about 45 minutes and only need basic tools like a screwdriver, drill, and wire labels. You can handle this project yourself if you follow the right steps and understand your HVAC system.
The process involves checking if your heating and cooling system works with your chosen thermostat, turning off power at the breaker, removing your old device, and connecting the new one according to your wire configuration. Some homes need a C-wire for continuous power, while others can use adapter kits or work without one. Knowing what to expect before you start makes the difference between a smooth installation and hours of frustration.
This guide walks you through everything from choosing the right model to connecting it to your Wi-Fi network. You’ll learn how to identify your wires, handle common problems, and decide when to call a professional instead of going the DIY route.
Key Takeaways
- Check your HVAC system compatibility and voltage requirements before purchasing a smart thermostat
- Turn off power at the circuit breaker, label all wires with photos, and install the C-wire adapter if needed
- Connect your thermostat to Wi-Fi after installation and adjust settings to match your schedule for maximum energy savings
Before You Begin: What You Need To Know
Installing a smart thermostat is a manageable project for most homeowners. However, you need to check a few important things before you start.
Check Your HVAC System Compatibility
Not all smart thermostats work with every heating and cooling system. Multi-stage systems require specific thermostat models. You should verify that your chosen thermostat matches your home’s HVAC setup before purchasing.
Understand Your Wiring Requirements
Your existing thermostat wiring determines which smart thermostats you can install. Here’s what to check:
- C-wire (common wire): Some thermostats need this wire for power. Others don’t require it but may need an adapter.
- High-voltage wiring: Standard smart thermostats only work with low-voltage systems. If you have large electric baseboards or an electric furnace with L1/L2 contacts, you may need professional help.
- Wire types: A few thermostat models don’t support stranded wires.
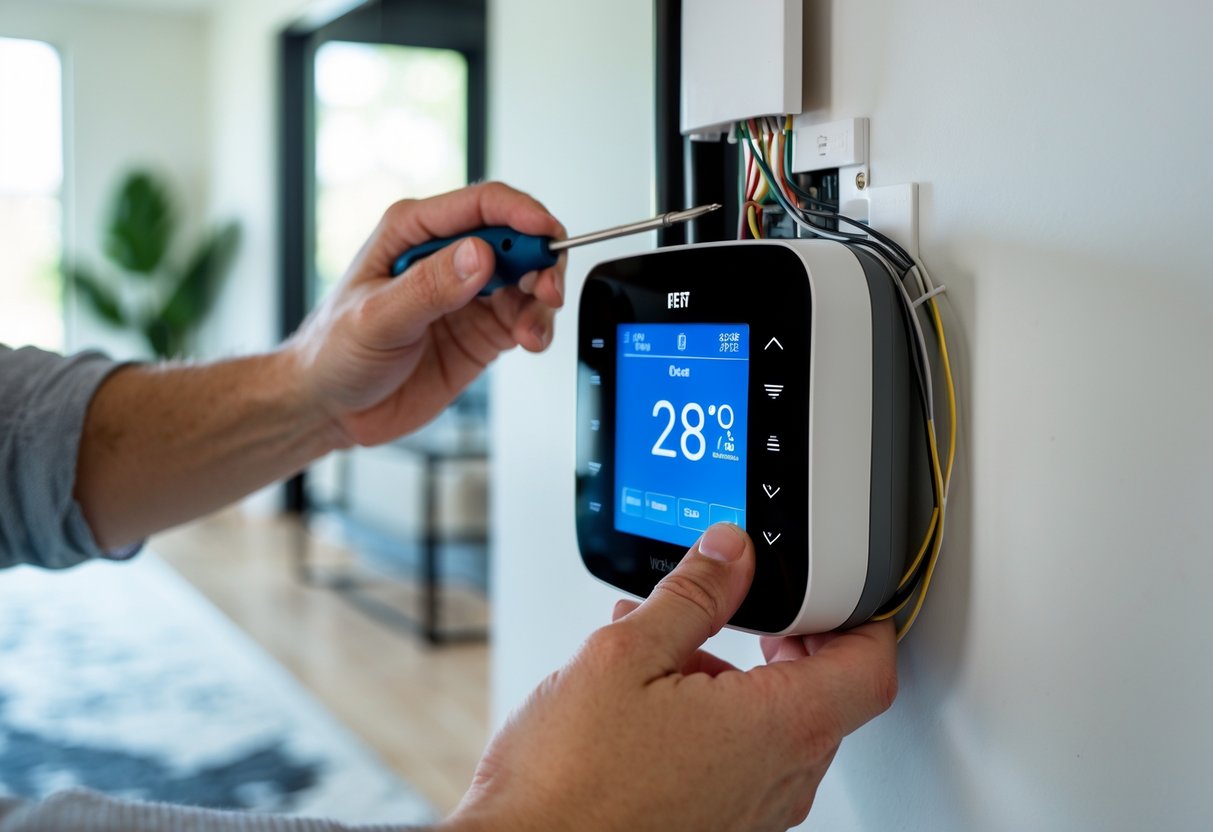
You’ll need to remove your old thermostat cover to see your wiring. Take a clear photo of the wire connections at this point.
Gather Your Tools
You only need basic items: a screwdriver, your smartphone, and possibly a level. Your new thermostat kit includes mounting hardware and wire labels.
Follow Safety Rules
Always turn off power at your circuit breaker before starting. Locate breakers labeled for heating, cooling, or HVAC and switch them off. Test that your system won’t turn on before touching any wires.
Choosing The Right Smart Thermostat
Picking the right smart thermostat starts with checking if it works with your HVAC system. Single-stage, multi-stage, and heat pump systems each need different types of support. Check your current system type before you buy anything.
Look at your home’s wiring next. Most smart thermostats need a C-wire (common wire) to provide constant power. Some older homes don’t have this wire. If yours doesn’t, you’ll need to either install one or choose a thermostat that works without it.
Key features to think about include:
- Voice control through Alexa, Google Assistant, or Siri
- Smartphone app for remote temperature changes
- Learning capabilities that adjust to your schedule
- Energy reports that show your usage
- Geofencing to detect when you’re home or away
- Room sensors for multi-zone temperature control
Your budget matters when choosing a thermostat. Basic models start around $100 and offer simple scheduling. Mid-range options ($150-$200) add learning features and better apps. Premium models ($250+) include room sensors and advanced automation.
Energy efficiency should guide your choice. Smart thermostats can reduce your heating and cooling costs by learning when you’re home and adjusting temperatures automatically. Models with ENERGY STAR certification meet strict efficiency guidelines.
Brand reputation and customer support also matter. Read reviews about setup difficulty and app reliability. Some brands offer better warranty coverage and technical support than others. Choose a brand that fits your comfort level with technology.
Preparing For Installation
Before you start working on your smart thermostat, you need to turn off power to your HVAC system at the circuit breaker. This step keeps you safe while handling electrical wiring.
Find your breaker box and flip the switch that controls your heating and cooling system. If you’re not sure which breaker to use, turn off the main power to be safe.
Gather Your Tools
You’ll need a few basic items for installation:
- Small screwdriver (Phillips or flat-head)
- Wire labels or masking tape
- Pen or marker
- Your smartphone for photos
Remove Your Old Thermostat
Take off the thermostat cover to see the wiring behind it. Most covers either pull straight off or have small screws holding them in place.
Once you can see the wires, take a clear photo of all the connections. This picture will help you later if you need to reference the original setup.
Label Each Wire
Use wire labels or small pieces of tape to mark each wire before you disconnect it. Write down the letter of the terminal where each wire connects (like R, W, Y, G, or C).
| Wire Color | Common Terminal | Typical Function |
|---|---|---|
| Red | R | Power |
| White | W | Heat |
| Yellow | Y | Cooling |
| Green | G | Fan |
| Blue/Black | C | Common wire |
Loosen the terminal screws and carefully pull each wire free. Keep the wires from falling back into the wall by bending them slightly outward.
Step-By-Step Smart Thermostat Installation
Start by turning off power to your HVAC system at the circuit breaker. This keeps you safe while working with the wiring.
Remove your old thermostat by pulling off the cover and unscrewing the base plate from the wall. Take a clear photo of the existing wire connections before disconnecting anything. Label each wire with the terminal letter it connects to.
Mounting the Base Plate
Hold the new base plate against the wall and use a level to make sure it sits straight. Mark the screw holes with a pencil. Drill pilot holes if needed, then secure the base plate with the provided screws.
Connecting Thermostat Wires
Match each labeled wire to its corresponding terminal on the new base plate. Most systems use these common wires:
| Wire Color | Terminal | Function |
|---|---|---|
| Red | R | Power |
| White | W | Heat |
| Yellow | Y | Cooling |
| Green | G | Fan |
| Blue/Black | C | Common |
Push excess wire back into the wall opening. Make sure each connection is tight and secure.
Attaching and Powering the Thermostat
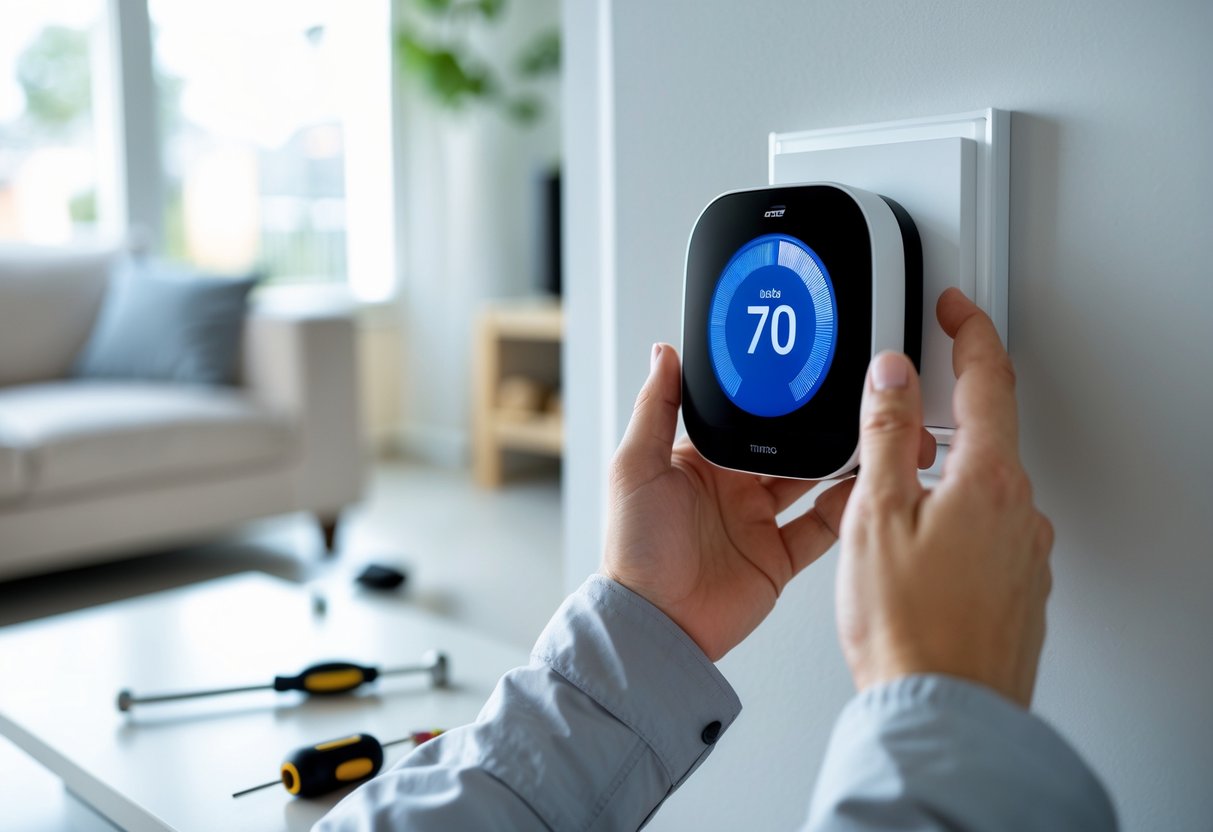
Snap the thermostat display onto the mounted base plate. Turn the power back on at your circuit breaker. The screen should light up within a few seconds.
Initial Setup and Calibration
Follow the on-screen prompts to select your system type and connect to your Wi-Fi network. Enter your zip code for accurate weather information. The thermostat will run a system test to verify all connections work properly. Let it run for 24 hours before adjusting any settings.
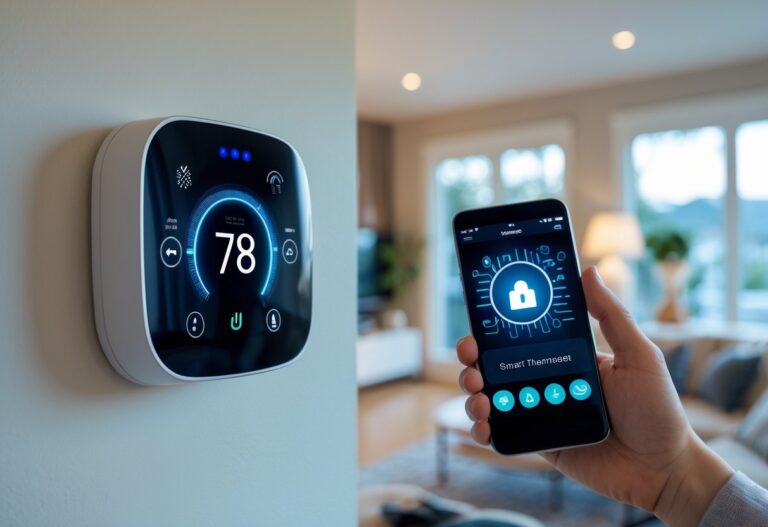
Connecting To Wi‑Fi And Smart Home Systems
After mounting your smart thermostat, you need to connect it to your home network. This allows you to control the device remotely and unlock its smart features.
Download the manufacturer’s app from the App Store or Google Play Store on your smartphone. Create an account if you don’t already have one. Open the app and follow the prompts to add your new thermostat.
On your thermostat’s display, navigate to the settings menu and select the Wi‑Fi option. Choose your home network from the list of available networks. Enter your Wi‑Fi password carefully using the thermostat’s interface.
The device will attempt to connect to your network. This usually takes 30 to 60 seconds. A confirmation message will appear on the screen when the connection succeeds.
Link your thermostat to voice assistants if you want hands-free control. Most smart thermostats work with Amazon Alexa, Google Assistant, or Apple HomeKit. Open your voice assistant’s app and look for the option to add new devices. Search for your thermostat brand and follow the linking instructions.
For integration with other smart home platforms, check your thermostat app for compatible services. You can often connect to systems like IFTTT, Samsung SmartThings, or Home Assistant. These connections let you create automation rules, such as adjusting temperature when you leave home or arrive back.
Make sure your Wi‑Fi signal is strong in the area where you installed the thermostat. A weak connection can cause delays or disconnections. If you experience problems, move your router closer or consider adding a Wi‑Fi extender.
Testing And Troubleshooting
After mounting your smart thermostat, turn the power back on at your circuit breaker. Your device should light up within a few seconds.
Test your heating and cooling systems separately. Set the thermostat to heat mode and raise the temperature above the current room temperature. Your heating system should start within a few minutes. Then switch to cooling mode and lower the temperature below the current reading. Your air conditioning should kick on shortly after.
If your thermostat shows no power, check that all wires are firmly connected to their terminals. A loose wire is the most common installation problem. Make sure the circuit breaker is switched on and that your HVAC system’s power switch hasn’t been accidentally turned off.
Common issues you might face:
- Blank screen: Check wire connections and verify power is on
- Wi-Fi won’t connect: Move closer to your router or restart both devices
- Wrong temperature readings: Wait 30 minutes for sensors to adjust to room conditions
- System won’t turn on: Confirm wires match your old thermostat’s configuration
Your thermostat may need a reset if controls aren’t responding properly. Look for a small reset button on the device or find the reset option in your settings menu. This returns the thermostat to factory settings without affecting your wiring.
Download the manufacturer’s app and connect your thermostat to Wi-Fi during initial setup. The app will guide you through naming your device and setting your preferences.
If problems continue after troubleshooting, take a photo of your wiring and contact the manufacturer’s support team. They can verify your connections remotely and provide specific solutions for your model.
Professional Installation Vs DIY
Deciding between professional and DIY installation depends on your technical skills and home setup. Most modern smart thermostats come with clear instructions and user-friendly designs that make self-installation possible for many homeowners.
DIY installation works well when:
- Your home has standard C-wire (common wire) connections
- You feel comfortable working with basic electrical systems
- Your current thermostat uses simple, clearly labeled wiring
- You own basic tools like a screwdriver and wire labels
- Your HVAC system is newer and straightforward
You should hire a professional if:
- Your system lacks a C-wire and needs one installed
- You have older or complex wiring configurations
- Your home uses high-voltage systems or zoned heating
- You’re uncomfortable handling electrical work
- Your system has multiple heating and cooling stages
Cost Comparison
| Installation Type | Typical Cost Range |
|---|---|
| DIY | $0 – $50 (thermostat only) |
| Professional | $150 – $300 |
DIY installation typically takes 2-4 hours for beginners. Professionals usually complete the job in 1-2 hours. While you save money with DIY, professionals ensure proper wiring, correct configuration, and reliable connectivity. They can also troubleshoot compatibility issues and integrate your thermostat with existing smart home devices.
Before starting a DIY project, turn off power at the circuit breaker and take photos of your existing wiring. If you encounter unexpected wire colors, missing connections, or system incompatibility, contact a professional to avoid damage or safety hazards.
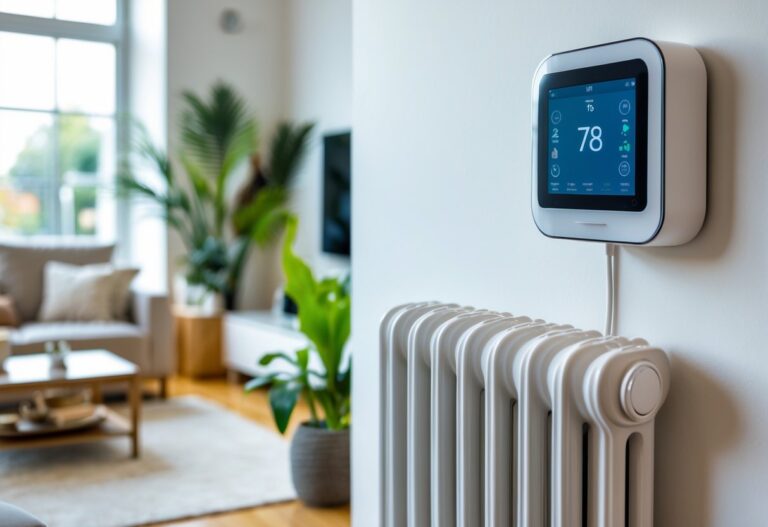
Optimizing Settings After Installation
Once your smart thermostat is installed and running, you need to configure its settings to maximize comfort and energy savings. The initial setup is just the beginning of what these devices can do for your home.
Set Up Your Schedule
Program your thermostat to match your daily routine. Set lower temperatures when you’re away at work or asleep, and warmer settings when you’re home and active. Most smart thermostats let you create different schedules for weekdays and weekends. You can adjust temperatures for specific times like morning wake-up, afternoon work hours, evening relaxation, and nighttime sleep.
Turn On Energy-Saving Features
Enable features designed to reduce energy waste. Geofencing uses your phone’s location to adjust temperatures when you leave or return home. Eco mode automatically optimizes settings to save energy while maintaining comfort. Many models also offer adaptive learning that studies your patterns and makes automatic adjustments over time.
Review Energy Reports
Check the reports your thermostat generates about your energy use. These insights show you when your system runs most and how much energy you consume. Use this data to identify opportunities to adjust your schedule or settings. Some thermostats compare your usage to similar homes in your area.
Keep Software Updated
Your thermostat manufacturer releases updates that improve performance and add features. Enable automatic updates or check manually every few months. Updates can fix bugs, enhance security, and unlock new capabilities that weren’t available when you first installed the device.
Maintenance And Long-Term Care
Your smart thermostat needs regular attention to work properly. Clean it every few months with a soft, dry cloth to remove dust and debris. Check for any physical damage like cracks or loose parts.
Software updates are critical for performance. Manufacturers release updates that fix bugs and add new features. Most thermostats will notify you when an update is available. You can also check manually through the companion app or thermostat settings. Install these updates as soon as possible.
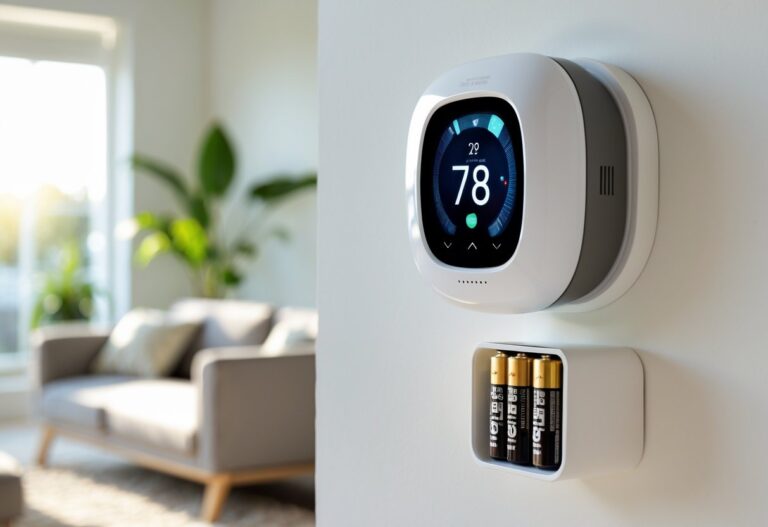
If your thermostat uses batteries, monitor the battery level through the app. Replace them when the indicator shows they are low. Keep spare batteries on hand to avoid any interruptions. Low batteries can cause connectivity problems or system failures.
Check the sensor calibration once or twice a year. Compare the thermostat’s temperature reading with a separate thermometer in the same room. If there is a difference of more than two degrees, you may need to recalibrate the sensor following the manufacturer’s instructions.
Your Wi-Fi connection affects how well your thermostat works. Make sure your network stays stable and secure. If you experience connectivity issues, restart your router or check your network settings.
Key maintenance tasks:
- Clean the device every 2-3 months
- Install software updates promptly
- Replace batteries as needed
- Verify sensor accuracy twice yearly
- Maintain stable Wi-Fi connection
- Inspect wiring connections annually
Consider professional maintenance every 1-2 years. A technician can perform deeper system checks and catch potential issues early.