Buying a smart thermostat without checking compatibility first is like buying shoes without knowing your size—it might work, but chances are you’ll end up frustrated. Not every smart thermostat works with every heating and cooling system, and a mismatch can leave you with a fancy wall decoration instead of energy savings. The good news is that most modern systems built after 1975 work fine with smart thermostats, but older equipment, heat pumps, boilers, and high-voltage systems need extra attention.
Before you buy any smart thermostat, you need to identify your system type, check the wiring behind your current thermostat, and confirm that the device supports your specific setup. A quick look at the wire terminals and a five-minute compatibility check can save you from returns, service calls, and potential damage to your equipment. Understanding smart thermostats and their requirements helps you choose the right model and avoid common installation mistakes.
The differences between systems matter more than you might think. A basic furnace and air conditioner setup is straightforward, but multi-stage equipment, zoned systems, and communicating HVAC units require thermostats with specific features. Getting smart thermostat compatibility right means you’ll actually see the energy savings and convenience these devices promise.
Key Takeaways
- Most smart thermostats work with standard forced-air systems made after 1975, but heat pumps, boilers, and high-voltage equipment need special consideration
- Check your existing wiring and system voltage before purchasing, and use the manufacturer’s online compatibility tool to confirm your setup will work
- Installing the wrong thermostat can damage your equipment, so verify C-wire availability and consider hiring a professional for complex systems
Why Compatibility Matters
Getting the right match between your smart thermostat and HVAC system affects how well your home runs. When these devices work together properly, you get better control over your heating and cooling.
Energy efficiency is one of the biggest benefits of compatible systems. A properly matched smart thermostat can cut your energy bills by 10-15% through better temperature control and scheduling. You’ll receive energy usage reports that show exactly where you’re using power and when.
If your smart thermostat isn’t compatible with your HVAC system, you risk several problems:
- System damage from incorrect wiring or voltage mismatches
- Lost features like remote control or scheduling
- Reduced energy savings due to poor communication
- Installation failures that require professional repairs
Energy reports help you track your usage patterns over time. You can see which days use the most power and adjust your settings to save money. These reports matter because they turn invisible energy use into clear data you can act on.
Compatibility also determines which features you can access. Some thermostats need specific wiring like a C-wire to power advanced functions. Without proper compatibility, you might pay for features you can’t use.
The matter protocol is becoming important for smart home devices. Thermostats that support matter work with more systems and apps. This standard helps different brands communicate better.
Your HVAC system’s age and type play a role too. Newer forced-air systems usually work with most smart thermostats. Older systems or special setups like radiant heating need careful checking before you buy.
Types Of HVAC Systems And How They Work
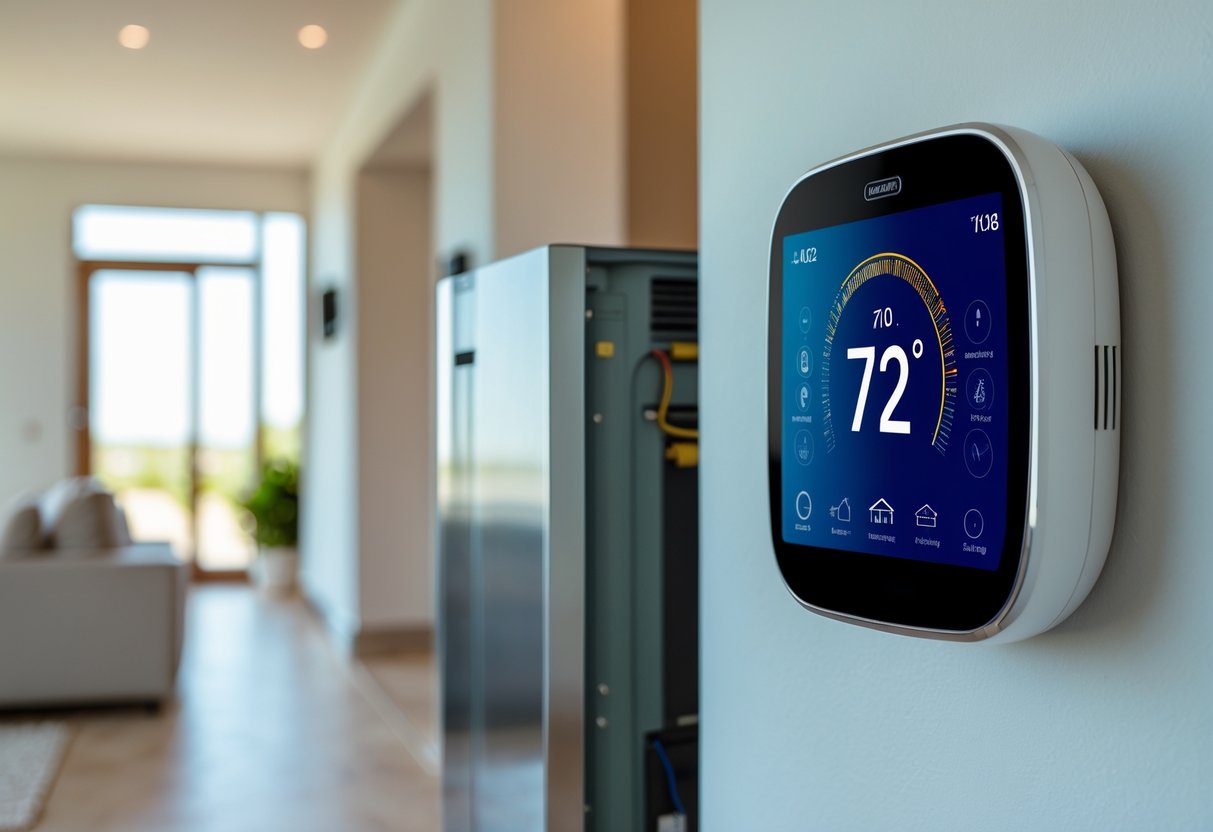
Central air systems pair a furnace with an air conditioner to heat and cool your home through ductwork. The furnace burns gas or oil to warm air, while the outdoor condenser removes heat during summer months. These systems typically run on 24V power and work well with most smart thermostats.
Heat pump systems move heat instead of creating it. In winter, they extract warmth from outdoor air and pump it inside. In summer, they reverse the cycle to cool your home. Most heat pumps include auxiliary heat (electric strips) and emergency heat as backup when outdoor temperatures drop too low.
Dual fuel systems combine a heat pump with a gas furnace. The heat pump handles mild weather efficiently, while the furnace takes over during extreme cold. Your thermostat switches between the two based on outdoor temperature and energy costs.
Boilers heat water or steam and send it through pipes to radiators or radiant floor heating. These radiant heating systems provide even warmth but often use different wiring than forced-air setups.
Electric baseboard heaters and other line voltage systems run on 120V or 240V power instead of 24V. You need special high-voltage thermostats for these systems because standard smart thermostats will burn out instantly.
Multi-stage systems offer multiple levels of heating or cooling output. A two-stage furnace runs at low capacity most of the time and ramps up only when needed. Variable speed systems adjust blower motor speed constantly for precise temperature control and better efficiency.
Each system type uses different wiring terminals and voltage requirements. Knowing which type you own helps you pick a compatible smart thermostat.
How Smart Thermostats Communicate With HVAC Systems
Smart thermostats connect to your HVAC system through low-voltage thermostat wires that carry signals between the device and your heating or cooling equipment. Most systems use standard terminal letters like R, W, Y, and G to control different functions.
The C-wire (common wire) plays a key role in communication. It provides continuous 24V power so your thermostat can maintain wireless connectivity and process commands. Without a common wire, many thermostats need a power extender to stay online and talk to your HVAC system.
Basic wire communication works like this:
- R wire supplies power
- W wire signals heating
- Y wire triggers cooling
- G wire controls the fan
- C-wire completes the circuit
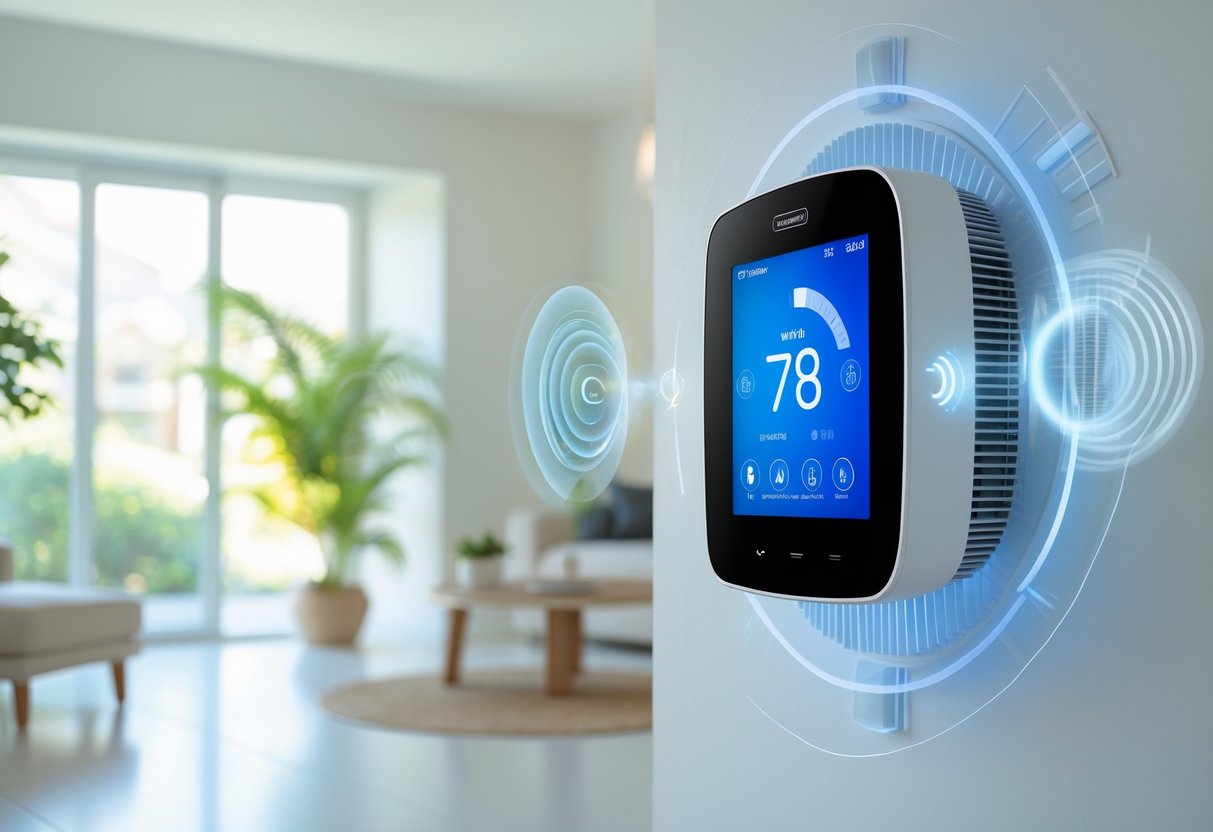
Smart thermostats add digital communication on top of this basic HVAC wiring. They use wireless connectivity through Wi-Fi, Zigbee, or other protocols to receive commands from your phone or smart home devices.
Learning algorithms monitor your patterns and automatically adjust settings by sending timed signals through those same wires. Geofencing uses your phone’s location to trigger temperature changes remotely.
Voice control integration through Apple HomeKit or similar platforms converts spoken commands into electrical signals. The thermostat interprets your request and sends the appropriate voltage through the correct wire to activate heating, cooling, or fan modes.
Firmware updates improve how your thermostat interprets sensor data and communicates with home automation systems. These updates enhance features like humidity control without changing your physical HVAC wiring.
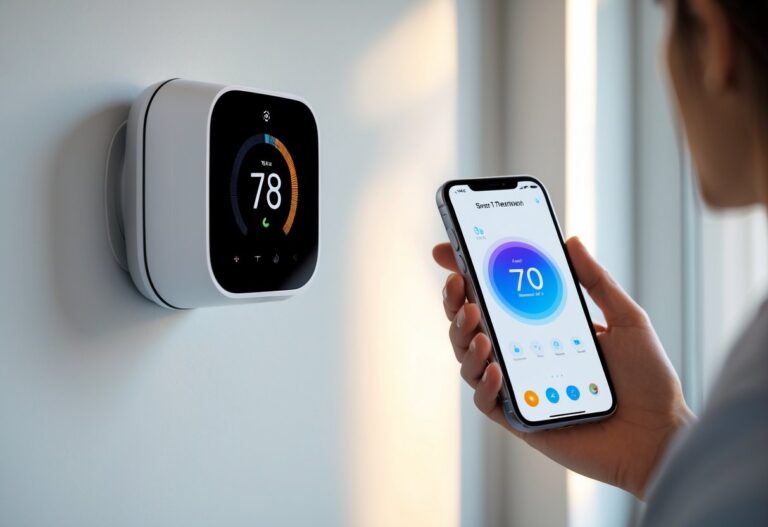
Remote control works through cloud servers. When you adjust settings on your app, the command travels through your home’s internet connection to the thermostat, which then signals your HVAC equipment through the connected wires.
Common Compatibility Challenges
Several issues can prevent your smart thermostat from working properly with your HVAC system. Understanding these challenges helps you avoid problems during installation.
Wiring and Power Issues
The most common problem is missing a C-wire. This wire provides constant power to your smart thermostat. Many older homes lack this wire, which can stop your device from working. Some manufacturers offer power adapters or extenders as solutions, but you may need a professional HVAC technician to install them safely.
Voltage Requirements
Most smart thermostats work with low-voltage systems. If your HVAC system uses high-voltage or line-voltage heating, you’ll face thermostat compatibility problems. Check your system’s voltage before buying any smart thermostat.
Heat Pump Compatibility
Heat pumps require specific wiring and settings. Not all smart thermostats support heat pump compatibility, especially multi-stage systems. Verify that your chosen model explicitly supports heat pumps if you have one.
Proprietary Controls
Some HVAC systems use proprietary controls that only work with specific thermostats. These closed systems block standard smart thermostats from connecting. You’ll need to contact the manufacturer or hire a professional HVAC technician for troubleshooting.
Common Issues Include:
- Missing or incompatible wiring
- Lack of C-wire for power
- Multi-stage or multi-zone system conflicts
- Proprietary or brand-specific controls
- Incorrect voltage matching
Security Concerns
Smart thermostats connect to your home network. Weak Wi-Fi security can expose your system to unauthorized access. Use strong passwords and keep your device firmware updated.
When troubleshooting becomes too complex, contact an HVAC technician. They can assess your system and recommend compatible options that work safely.
How To Check Compatibility Before Buying
Start by checking your current thermostat’s wiring. Turn off the power at your breaker, then carefully remove the thermostat faceplate. You’ll see several colored wires connected to labeled terminals.
Take a clear photo of the wiring and write down each wire letter you see. Common labels include R, C, W, Y, G, and sometimes O/B or AUX. Most smart thermostats work with standard 24-volt systems that use these letters.
Use an online compatibility checker from your preferred brand. Major manufacturers like Nest, ecobee, and Honeywell offer free tools on their websites. Upload your wiring photo or enter the wire letters manually. The checker will tell you within seconds if that model works with your setup.
Pay special attention to the C-wire (common wire). Many smart thermostats need this wire for constant power. If you don’t have one, look for models that include a power adapter kit or use alternative charging methods.
Check these key factors for wiring compatibility:
- Wire count (most need 4-8 wires)
- System voltage (should be 24V low-voltage)
- HVAC type (furnace, heat pump, dual-fuel, or zoned)
- C-wire presence or adapter availability
Heat pump owners should confirm the compatible smart thermostat specifically supports multi-stage heat pumps and auxiliary heat control. Dual-fuel systems need models labeled for fuel-switching capability.
If the online tool shows incompatibility issues or you’re unsure about your wiring, contact an HVAC technician before purchasing. They can verify your system type and install any needed adapters.
Popular Smart Thermostats And Supported Systems
Nest Learning Thermostat works with most 24-volt heating and cooling systems. It supports up to three stages of heating and two stages of cooling. You can use it with gas furnaces, heat pumps, and central air conditioners.
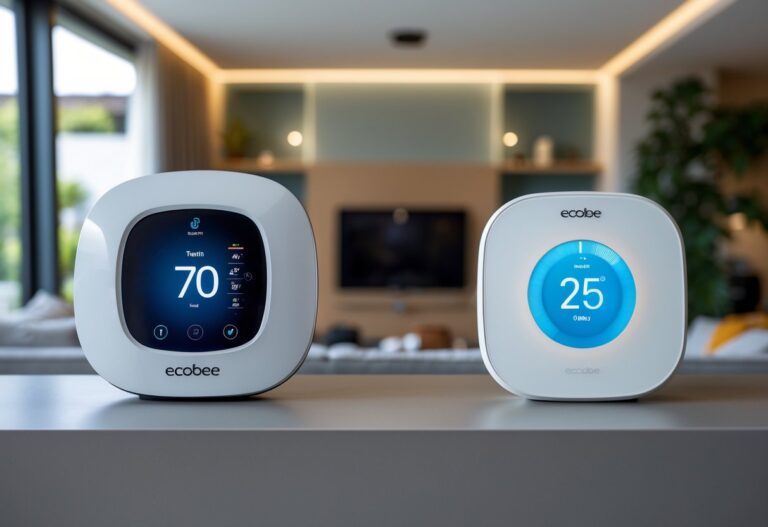
Ecobee SmartThermostat handles more complex setups than many competitors. It works with heat pumps, multi-stage systems, and dual-fuel configurations. The ecobee also supports accessories like humidifiers and ventilators through additional wiring connections.
Honeywell Home T9 offers solid compatibility with standard HVAC systems. You can install it with forced air systems, heat pumps, and hot water configurations. The T9 includes remote room sensors to balance temperatures across your home.
Emerson Sensi takes a straightforward approach to compatibility. It fits most heating and cooling systems without requiring a C-wire in many cases. You can use Sensi with conventional systems, heat pumps, and even some radiant setups.
Here’s what each thermostat supports:
| Thermostat | Heating Stages | Cooling Stages | Heat Pump Support |
|---|---|---|---|
| Nest | Up to 3 | Up to 2 | Yes |
| Ecobee | Up to 2 | Up to 2 | Yes |
| Honeywell T9 | Up to 3 | Up to 2 | Yes |
| Emerson Sensi | Up to 4 | Up to 2 | Yes |
Before you buy any smart thermostat, check your current wiring. Count the wires behind your existing unit and note the letter labels on each terminal. Most manufacturers provide online compatibility checkers where you can enter your system details.
Installation Tips And Best Practices
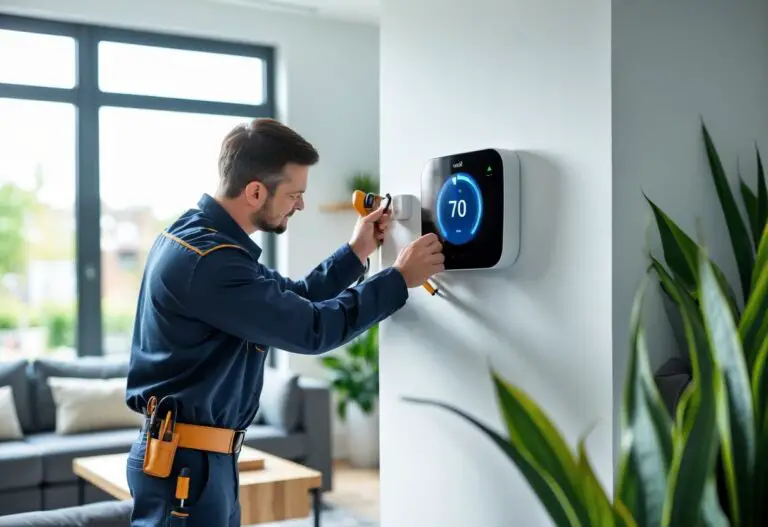
Before you start your thermostat installation, turn off the power to your HVAC system at the breaker box. This simple step prevents electrical shocks and protects your equipment from damage.
Document your existing wiring by taking a clear photo of the current thermostat connections before removing any wires. Label each wire with tape that matches its terminal letter. Most systems use standard labels like R, W, Y, G, and C.
You can handle DIY installation if you have a single-stage furnace with straightforward wiring. The process typically takes 30 minutes with just a screwdriver. However, professional installation becomes necessary when you have multi-stage systems, zoned ductwork, or variable-speed equipment.
Check these installation requirements before you begin:
- C-wire availability for continuous power
- 24V system voltage compatibility
- Correct terminal matches between old and new stats
- Stable Wi-Fi signal at thermostat location
- Level mounting surface with access to wiring
Consider hiring a professional if your system includes heat pumps with auxiliary heat, communicating furnaces, or dual-fuel setups. Incorrect wiring can lock motors into wrong speeds or freeze coils during humid weather. Professional installation costs $125-$200 in most areas.
Mount your new thermostat away from direct sunlight, drafts, and heat sources like lamps or appliances. These factors cause false temperature readings and trigger unnecessary heating or cooling cycles.
Test all system modes after installation runs through heating, cooling, and fan settings to confirm proper operation. Enable adaptive recovery features so your system reaches target temperatures at scheduled times rather than starting at those times.