Are you thinking about upgrading your home with a Honeywell smart thermostat but not sure where to begin? Installing a Honeywell smart thermostat is a simple way to make your home more comfortable and energy-efficient, and you can usually do it yourself with just a few tools and clear instructions. With the right prep, even beginners can enjoy the benefits of automated temperature control in just a short amount of time.
By learning how to set up and use your new thermostat, you’ll gain more control over your home’s climate and possibly save money on your energy bills. This guide will help you understand the steps, avoid common mistakes, and know what to do if you run into any trouble along the way.
Key Takeaways
- Learn how to get your space ready for a Honeywell smart thermostat installation
- Follow simple steps to install and use your new thermostat
- Find answers to common issues and questions
Preparing for Honeywell Smart Thermostat Installation
Installing a Honeywell smart thermostat is easier when you plan ahead. You need to check if your current system is compatible and have the right tools ready before starting. Safety is also important, especially when you work with electrical wiring.
Checking Thermostat Compatibility
Before installing, check if your heating and cooling system supports the Honeywell smart thermostat. Look for your system’s model number and compare it with the thermostat’s compatibility list found in the installation guide or on the Honeywell website.
Most Honeywell smart thermostats work with common systems like gas, oil, electric, and heat pump units. Millivolt systems, such as those found in floor or wall heaters, are usually not supported.
Find out if you have a C-terminal (common wire) in your current wiring. This wire is necessary for powering the thermostat. If you don’t have a C-wire, some models include a C-wire power adapter. Take a photo of your current thermostat wiring before removing it. This helps you remember how everything connects later.
Gathering Tools and Materials
Have all the tools and materials ready before you start the installation. This makes the process go faster and reduces mistakes.
You will likely need:
- Phillips and flathead screwdrivers
- Power drill (for mounting)
- Wire labels (or masking tape and pen)
- Level
- C-wire power adapter (if needed)
- Screws and anchors (usually in the box)
Label the thermostat wires as you remove them from the old unit. This step will help you connect each wire correctly to the new Honeywell thermostat. Keep all screws and parts in a small tray so nothing gets lost.
Ensuring Electrical Safety
Working with your home’s wiring means you should always follow safety steps. Turn off the power to your heating and cooling system at the circuit breaker before starting. Double-check that the thermostat screen is blank before removing wires.
Do not touch bare wire ends with your hands or any metal objects. Use insulated tools when possible. If you are unsure about any wiring, look at the installation guide or call a professional for help.
Make sure all connections are tight and no wires are exposed before finishing. Carefully restore power at the circuit breaker only after everything is in place so you can continue with the setup.
Step-by-Step Honeywell Smart Thermostat Installation Process
Installing a Honeywell smart thermostat includes removing the old unit, connecting the correct wires, and safely mounting and powering the device. Paying attention to details like proper wire labels and ensuring your system has a c-wire can help the thermostat function correctly.
Removing the Old Thermostat
Turn off the power to your heating and cooling system at the circuit breaker before touching the thermostat. This step is important to prevent electrical shock or equipment damage.
Take off the thermostat cover and make a note of how the wires are connected. Use your phone to take a clear photo or write down which wires connect to each terminal. Many Honeywell models, like the T5+ smart thermostat, need a c-wire for power, so check if you have one.
Carefully disconnect each wire, labeling them with the included stickers or tape. This keeps you organized for the next steps. Remove the old mounting plate by unscrewing it from the wall.
Connecting Wires to New Thermostat
Line up the new Honeywell thermostat’s base plate with the wire holes in your wall. Thread the wires through the base so they are easy to attach.
Gently slide each labeled wire into the correct terminal slot. Use a small screwdriver to tighten the screws but do not overtighten. Double-check that each wire matches the spot it was labeled for—wrong connections can stop the thermostat or system from working.
If your system does not have a c-wire and one is required, Honeywell offers power adapters or kits, like for the T5+ smart thermostat. Follow the device’s installation manual for connecting any adapters. When all wires are secure, gently tug to confirm they will not slip out.
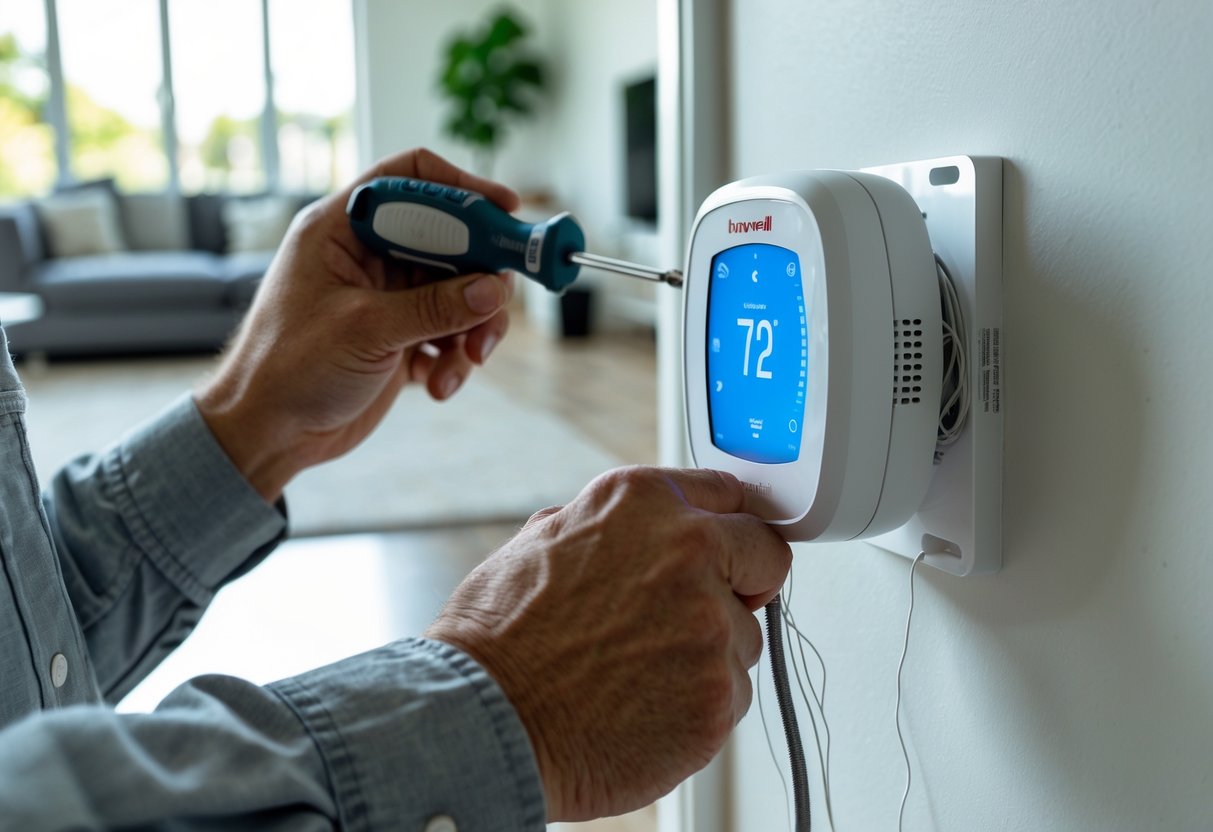
Mounting and Powering the Thermostat
Hold the thermostat’s base plate flat against the wall and fasten it with the screws provided. Use a level to make sure the unit is not tilted. Place the thermostat’s display onto the base, pressing it in until it clicks.
Restore power at the circuit breaker. The thermostat should light up after a few moments. Follow the on-screen steps to set language, Wi-Fi, and system type.
Refer to the installation guide for troubleshooting tips or if your Honeywell smart thermostat does not turn on. Make sure you have installed the latest app to finish setup and enjoy remote control features.
Configuring and Using the Honeywell Smart Thermostat
Getting your Honeywell smart thermostat up and running involves connecting to Wi-Fi, adjusting temperature controls, setting up smart features, and monitoring energy use. A few easy steps let you control your heating and cooling systems from your smartphone and improve energy efficiency.
Connecting to Wi-Fi and Honeywell Home App
Begin by connecting your thermostat to your home’s Wi-Fi network. On the screen, find and select the Wi-Fi setup option. Enter your network’s name and password. Once you see a confirmation, the thermostat is now online.
Next, download the Honeywell Home app on your smartphone. Open the app and follow the prompts to add your new device. The app will help link your account and the thermostat. This lets you use your phone for setup, scheduling, and adjustments.
A strong Wi-Fi connection ensures the smart thermostat stays updated and responds quickly to commands. If Wi-Fi is interrupted, the thermostat can still operate basic temperature settings, but remote features will be limited.
Setting Up Temperature Control Features
Your thermostat offers a range of temperature control features for your heating and cooling systems. Use the touchscreen or the app to set preferred temperatures for day and night. You can also create schedules based on your daily routine.
Adjusting settings for weekends and weekdays helps you save energy. Many Honeywell models sense when someone is home and can automatically change the temperature to match comfort needs. You can enable smart alerts for reminders about extreme temperatures or filter changes.
Manual control is always available, but using the scheduling feature ensures your smart thermostat runs efficiently without constant adjustments. Simple menus make it easy to update settings as your routine changes.
Optimizing Energy Efficiency and Monitoring Savings
The Honeywell smart thermostat can help lower your energy bills with built-in energy-saving tools. Use geofencing to adjust heating and cooling when you leave home by using your smartphone’s location.
Energy reports are easy to access in the app. These show your usage patterns and suggest ways to save more energy. Enable energy-saving modes, such as setting higher temperatures in summer or lower in winter when you’re away.
Monitor alerts for possible issues or times when your usage spikes. Regularly review your settings and reports to track results. Optimizing your schedule and using the smart features can lead to clearer energy savings.
Enabling Remote Access and Smart Functions
Remote access lets you control your smart thermostat from anywhere using the Honeywell Home app on your smartphone or tablet. Check and change temperatures, turn systems on or off, and get notifications about your home environment.
Connect your thermostat to other devices, like voice assistants (Amazon Alexa or Google Assistant), for hands-free control. You can use voice commands to set the temperature or ask for current settings.
Smart alerts will notify you if your home reaches extreme temperatures or if a maintenance issue is detected. Integrating more smart functions, such as connecting to sensors for more precise temperature control, improves comfort and reactiveness.
Below is a quick reference table for key smart functions:
| Feature | How to Use | Benefit |
|---|---|---|
| Remote Access | Use app or voice assistants | Control from anywhere |
| Smart Alerts | Enable notifications in app | Stay informed about issues |
| Scheduling | Set daily/weekly temperature plans | Saves energy and time |
| Integration | Connect with other smart home devices | Added convenience |
Troubleshooting and Professional Assistance
Common issues can happen when installing a Honeywell smart thermostat. Knowing simple troubleshooting steps and when to get extra help will make the installation process smoother.
Step-by-Step Troubleshooting Guide
If your thermostat is not turning on, first check the power supply. Make sure the circuit breaker for the heating or cooling system is on.
Next, confirm that the wiring matches the installation guide. Double-check all wire connections for tight fits and correct placement. Loose or misconnected wires often cause errors.
If the screen is blank, your model might need fresh batteries. Replace them if needed.
Your thermostat might not connect to Wi-Fi. Try restarting your router and checking your network password. Also, make sure your Wi-Fi signal is strong where the thermostat is located.
For error codes or unresponsive controls, resetting the device can fix basic software glitches. Refer to the troubleshooting guide for steps based on your model.
A helpful troubleshooting quick list:
- Inspect power source
- Check all wires
- Replace batteries
- Restart Wi-Fi router
- Reset thermostat
When to Find a Pro for Installation
Some thermostat issues require an experienced hand. If you see damaged or old wires, or if you do not have a C wire, it is a good idea to contact a local professional.
Complex heating and cooling systems, like heat pumps or multi-stage systems, often need a pro for safe and correct setup.
If the installation guide does not match your wiring or you are unsure how to proceed, seeking extra help is the safest choice. Also, if your thermostat keeps showing errors after troubleshooting, professional support is needed.
You can call Honeywell Home technical support at 1-800-633-3991 or search for a certified installer in your area.
Getting help from a pro can prevent damage and save time.
Frequently Asked Questions
When you install a Honeywell smart thermostat, it’s important to know how to connect the wires, the purpose of a C wire, and how to get your thermostat online. You will also need to know which color wire goes where and the general steps for installation.
What is the correct way to wire a Honeywell smart thermostat?
Turn off power to your heating and cooling system before you start any wiring. Take a picture of the old thermostat’s wires so you can match them correctly.
Connect each wire to the correct terminal on the new thermostat. Make sure the wires are secure before mounting the thermostat.
Is a C wire necessary for installing a Honeywell smart thermostat?
Most Honeywell smart thermostats require a C wire. The C wire provides continuous power for features like WiFi and the touch screen.
If your system does not have a C wire, you may need a C wire adapter or a technician’s help.
How do I connect my Honeywell Home thermostat to my WiFi network?
After installing the thermostat, power it on and follow the on-screen setup instructions. You will be prompted to select your WiFi network and enter your password.
Make sure your WiFi signal is strong near the thermostat for reliable connection.
Can you provide a wiring diagram for installing a Honeywell thermostat?
A basic Honeywell thermostat wiring diagram usually looks like this:
- Red wire (R): Power from transformer
- White wire (W): Heat
- Yellow wire (Y): Cooling
- Green wire (G): Fan
- Blue or black wire (C): Common wire
Always check your installation manual for a diagram specific to your model.
Where should each color wire be placed when installing a Honeywell thermostat?
- Red wire goes to the R terminal.
- White wire goes to the W terminal.
- Yellow wire goes to the Y terminal.
- Green wire goes to the G terminal.
- Blue or black wire goes to the C terminal.
Match each color to the correct terminal as labeled both on the thermostat and in the manual.
What are the steps for installing a Honeywell non-programmable smart thermostat?
Turn off your HVAC system at the breaker.
Remove the old thermostat and label each wire. Attach wires to the new thermostat’s terminals.
Mount the thermostat on the wall plate, power up the system, and test heating and cooling functions to make sure everything works.