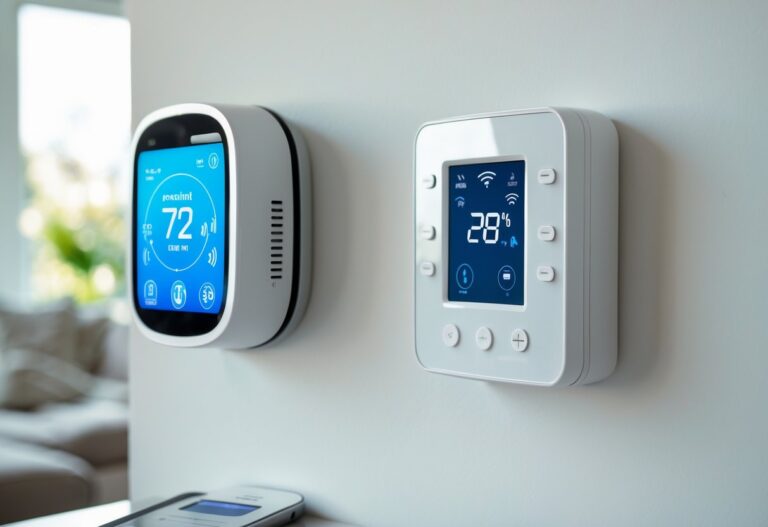
Upgrading your home with an ecobee thermostat can make controlling your comfort easier and more efficient. You can install an ecobee thermostat in under an hour with just a few standard tools and the right guidance. Whether you’re a seasoned DIYer or just starting out, knowing the simple steps involved will give you the confidence to handle the project yourself.
Learning the basics before you start helps things go smoothly. You’ll want to prepare your space, manage a few wires, and follow some on-screen instructions. By the end, you’ll have a smart thermostat that lets you manage your home’s temperature from your phone or tablet.
Key Takeaways
- Preparation is important for a smooth installation.
- Clear instructions make wiring and setup simple.
- Support is available if you need help during the process.
Pre-Installation Preparation
Before installing your ecobee thermostat, it is important to make sure it will work with your current HVAC system, gather the right tools, and understand how your system is set up. Having this information ready will help keep your installation smooth and safe.
Compatibility Check
First, check if your HVAC system is compatible with the ecobee thermostat. Ecobee is designed to work with most low-voltage systems, but there are exceptions. Some homes with high-voltage systems, millivolt systems, or proprietary systems may not support ecobee thermostats.
Look at your current thermostat wiring. If you see thick wires labeled with numbers or high voltage warnings, your system might not be compatible. Most ecobee thermostats need a C wire (common wire) for power. If your system does not have a C wire, ecobee offers a Power Extender Kit that can work in many cases.
Visit ecobee’s website or review their installation resources to double-check compatibility. Use their online tool by entering information about your wiring and HVAC system.
Tools and Materials Needed
Having the right tools makes the installation faster and reduces mistakes. Below is a list of basic tools and materials for installing your ecobee thermostat:
| Tool/Material | Purpose |
|---|---|
| Phillips screwdriver | Removing and securing screws |
| Flathead screwdriver | Lifting wires, prying open battery panels |
| Drill | Drilling new holes (if required) |
| Hammer | Securing anchors into the wall |
| Pencil | Marking screw locations |
| Level | Making sure thermostat is mounted straight |
| Wire stripper | Removing insulation from wires (if needed) |
| Voltage tester | Making sure power is off before work |
| Wire labels | Labeling old thermostat wires for easy connection |
| Installation manual | Step-by-step guide provided with your ecobee |
Gather these items before you begin to avoid delays.
Understanding Your HVAC System
Understanding your HVAC system is crucial during installation. Your home may have a heating-only, cooling-only, or combined heating and cooling system. Some houses use heat pumps instead of traditional furnaces or air conditioners.
Look for your current thermostat’s wiring labels, such as R, W, Y, G, C, or O/B. Each wire tells you what equipment the thermostat controls. Check your installation manual or guides for how these should be connected to the ecobee base.
If your HVAC system has features like multi-speed fans, humidifiers, or dehumidifiers, note them. Some systems use special terminals, so you’ll need to follow specific instructions in your ecobee installation guide. Always turn off the power to your HVAC system at the breaker to stay safe during installation.
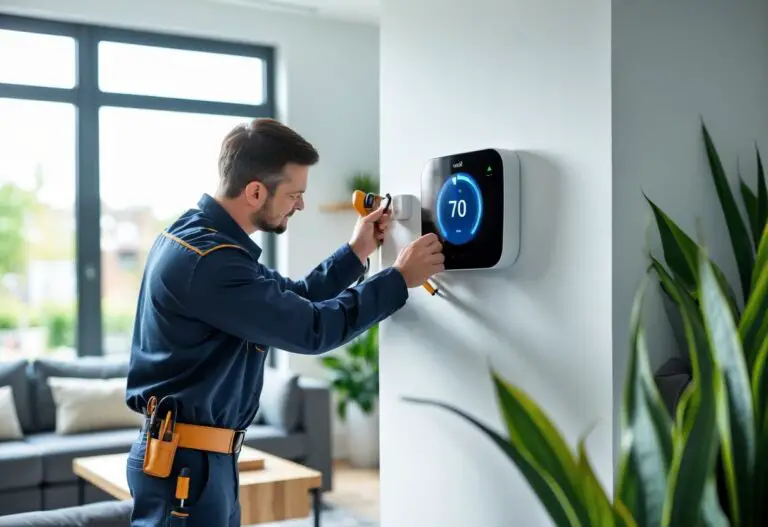
Wiring and Mounting Instructions
Installing your ecobee thermostat involves carefully handling the old wiring, mounting the new hardware, and ensuring a steady source of power. Proper wire labeling and correct use of tools like a screwdriver help avoid mistakes and make your thermostat installation easier.
Removing the Old Thermostat
Turn off the power to your HVAC system at your circuit breaker before starting work. This keeps you safe from electrical shocks.
Remove the faceplate of your old thermostat. Most models will pop off when pulled gently. Use a screwdriver to unscrew the mounting plate from the wall.
Carefully pull the thermostat away but do not let the wires fall back into the wall. Take a quick photo of the wiring and terminals as a reference for how the wires were connected. This will help you later.
Identifying and Labeling Wires
Thermostat wires connect to terminal labels such as R, G, Y, W, and sometimes C. Use the wiring diagram in your ecobee manual to identify each wire’s role.
Wrap small labels or masking tape around each wire and mark the letter from the terminal it was connected to. This makes it easy to attach the wires to the correct places on your new ecobee thermostat.
Check for any loose, damaged, or unused wires. If a wire is not connected to a terminal or if insulation is damaged, address it before moving forward. Do not remove the wires until all labels are in place.
Installing the Mounting Plate
Attach the new ecobee mounting plate to the wall where your old thermostat was located. Use a level to make sure it sits straight.
If your old thermostat was larger, use the included trim plate to cover any unpainted areas or screw holes from the previous installation.
Align the wiring through the opening in the mounting plate. Screw the plate into place with a screwdriver. If mounting into drywall without a stud, use the wall anchors provided for a firmer hold.
Feed the labeled wires through the middle of the mounting plate so you can connect them to the ecobee terminals easily.
C Wire and Power Extender Kit (PEK) Setup
The C wire provides power to your ecobee thermostat. Check for a C wire among your labeled wires. If you have one, connect it to the ecobee C terminal.
If you do not have a C wire, use the Power Extender Kit (PEK) included with your ecobee. The PEK allows the thermostat to draw power by connecting to other wires at your HVAC control board.
Follow the detailed wiring diagram provided with your PEK. The PEK connects to the G, Y, and R wires, then the outputs from the PEK plug into your thermostat. Attach the PEK securely inside the HVAC cover panel.
Once the power supply is set up, you can continue with wiring the rest of your ecobee thermostat as shown in the manual. Make sure each wire is pushed into the correct terminal and tightened.
Setting Up and Configuring Your ecobee Thermostat
Setting up your ecobee smart thermostat means more than just attaching it to the wall. You will need to connect it, configure its settings, and make sure it works well with your home systems for heating, cooling, and energy savings.
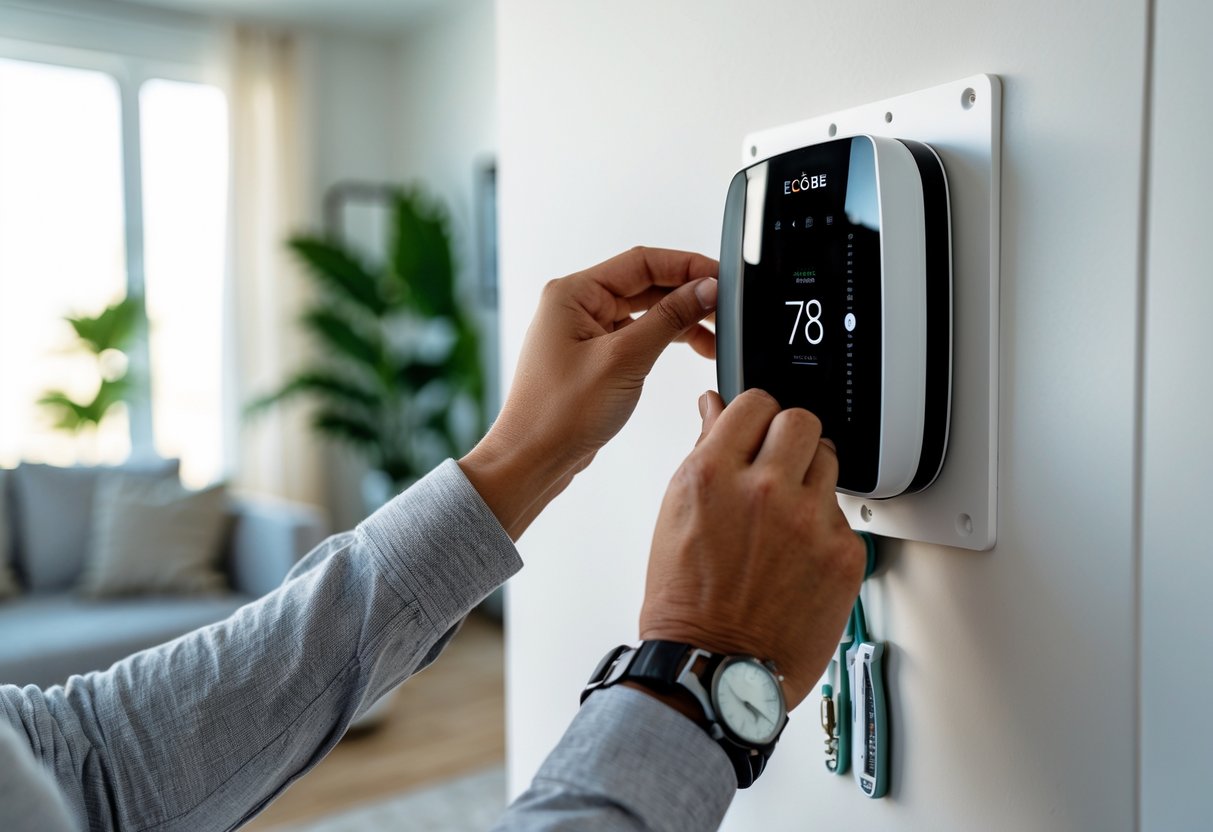
Device Installation Process
Before starting, turn off the power to your heating and cooling system.
Take off your old thermostat’s cover and note how the wires are connected. Label them if needed.
Most ecobee thermostats come with a step-by-step installation guide. Follow the wiring diagram in the box or app. Connect the wires from your wall to the correct spots on your ecobee base plate.
Attach the thermostat to the plate. Restore the power and make sure the screen lights up.
Important tips:
- Check that your system is compatible.
- Use the provided backplate for a cleaner look.
- If your home does not have a C-wire, the ecobee comes with a Power Extender Kit.
This job usually takes 30–45 minutes and can often be done without a professional.
Connecting to Wi-Fi and the ecobee App
Turn on your ecobee thermostat and follow the on-screen instructions.
Connect to your home Wi-Fi network using the touchscreen display.
For remote access and voice control, download the ecobee app from the Apple App Store or Google Play Store. Open the app and create an ecobee account if you do not already have one.
Link your thermostat to your account by scanning the code shown on the thermostat’s screen.
Connecting your ecobee to Wi-Fi allows you to:
- Adjust the temperature from your phone.
- Monitor your home’s climate remotely.
- Get notifications and system alerts.
Wi-Fi is required for smart features such as weather updates and energy reports.
Setting Preferences and Features
Once connected, set up your preferences for heating, cooling, and humidity right from the ecobee screen or the app.
Adjust your comfort settings and schedule. Choose:
- Home, Away, and Sleep temperature targets.
- How long the thermostat should “hold” a setting before going back to the regular schedule.
- Fan and humidity controls, if supported by your system.
You can name your device, set up time and date, and enable features like reminders for air filter changes.
Enable voice assistants such as Amazon Alexa or Apple HomeKit if your ecobee model supports it. Voice control makes daily adjustments even easier.
Optimizing for Energy Efficiency
Your ecobee smart thermostat has built-in features to help save energy.
Use the Smart Home/Away and Follow Me options to automatically adjust settings when people are or aren’t home.
Schedule temperature changes to match times when you are sleeping or away, using the app’s scheduling tool.
Enable energy reports in the app to monitor your usage.
Helpful features for saving energy:
- Adjustable temperature ranges for heating and cooling.
- Adaptive recovery, which learns how long your system takes to reach the right temperature.
- Reminders to change filters for efficient air flow.
Remote room sensors (included with some models) help keep your most-used rooms comfortable without wasting energy.
Troubleshooting and Support Resources
During installation, you might see issues like an unresponsive screen, wiring errors, or the system not turning on. Knowing where to find step-by-step help makes these problems easier to solve.
Common Installation Issues
Some problems are more likely to happen when setting up your ecobee thermostat. For example, you may turn on the device and get a blank or stuck display. This is often due to loose wires or the wrong wires being connected.
Another common issue is the system not heating or cooling as expected. This could be caused by incorrect wiring or missing the system selection in the setup menu.
Many users also have trouble with Wi-Fi set-up, like the thermostat not connecting to the home network. Make sure your Wi-Fi information is correct and the signal is strong where your thermostat is installed.
Troubleshooting Tips
If your thermostat does not turn on, double-check the wiring connections to your HVAC system and ensure each wire is properly seated. Use the installation manual’s diagrams to match wires to the correct terminals.
For a frozen or unresponsive touch screen, try restarting the thermostat by carefully removing it from the wall and snapping it back on after 30 seconds. In some cases, a reset from the device menu can fix minor software glitches.
If you have problems connecting to Wi-Fi, restart your router and thermostat. Confirm your Wi-Fi password is correct. If problems continue, try moving the router closer for a stronger connection.
Quick Checklist:
- Verify each wire is in the right terminal
- Confirm HVAC power is on
- Restart thermostat if display is frozen
- Check Wi-Fi information and signal
Accessing Installation Videos and Guides
Visual guides and manuals make installation much easier. Ecobee offers official installation videos on their website and app. These videos show each step, from wiring to system testing, in real time.
You can also access step-by-step installation manuals and detailed troubleshooting guides online. These resources are especially useful for checking wiring diagrams and setting up schedules or advanced features.
Find these materials through:
- The ecobee app (look for the “Help” or “Support” sections)
- Support.ecobee.com for videos, installation guides, and manuals
- The printed manual included in the box
Using these tools ensures you have accurate help while installing and troubleshooting your thermostat.