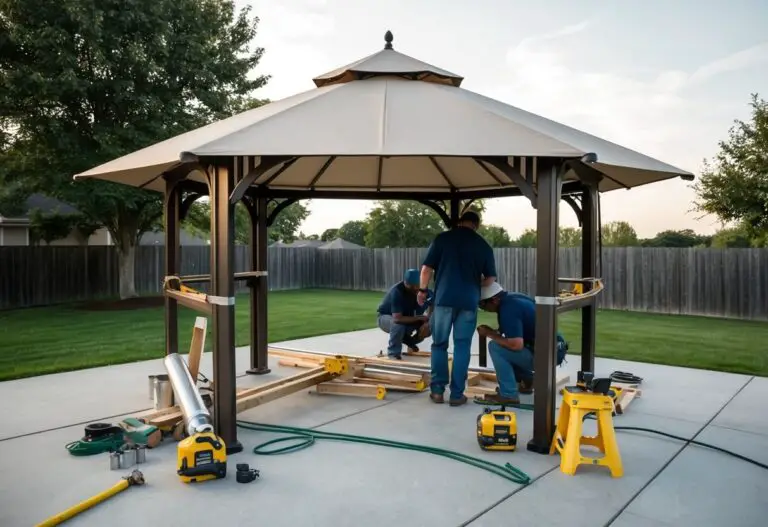
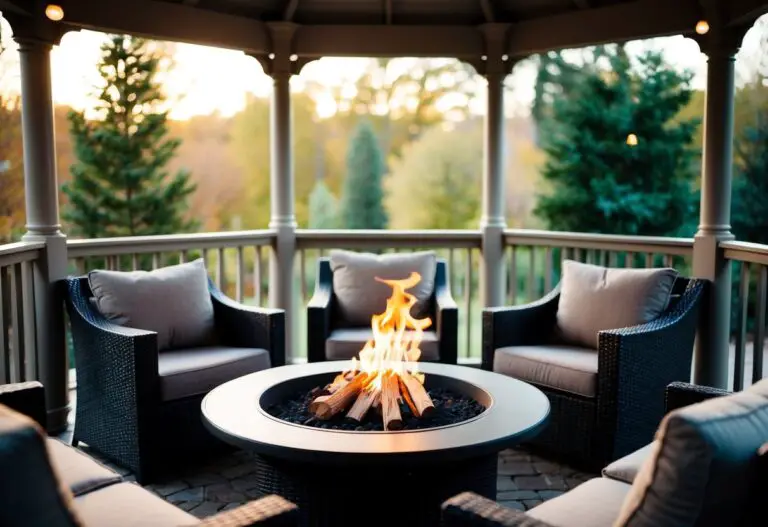
Ready to give your gazebo a facelift? Roofing a gazebo can turn your backyard into a cozy hangout spot. It’s a fun project that adds charm and protection to your outdoor space. With the right tools and know-how, you can roof a gazebo by laying a solid base, installing rafters, and topping it off with shingles. This guide will walk you through the process, helping you create a beautiful shelter for outdoor dining and relaxation.
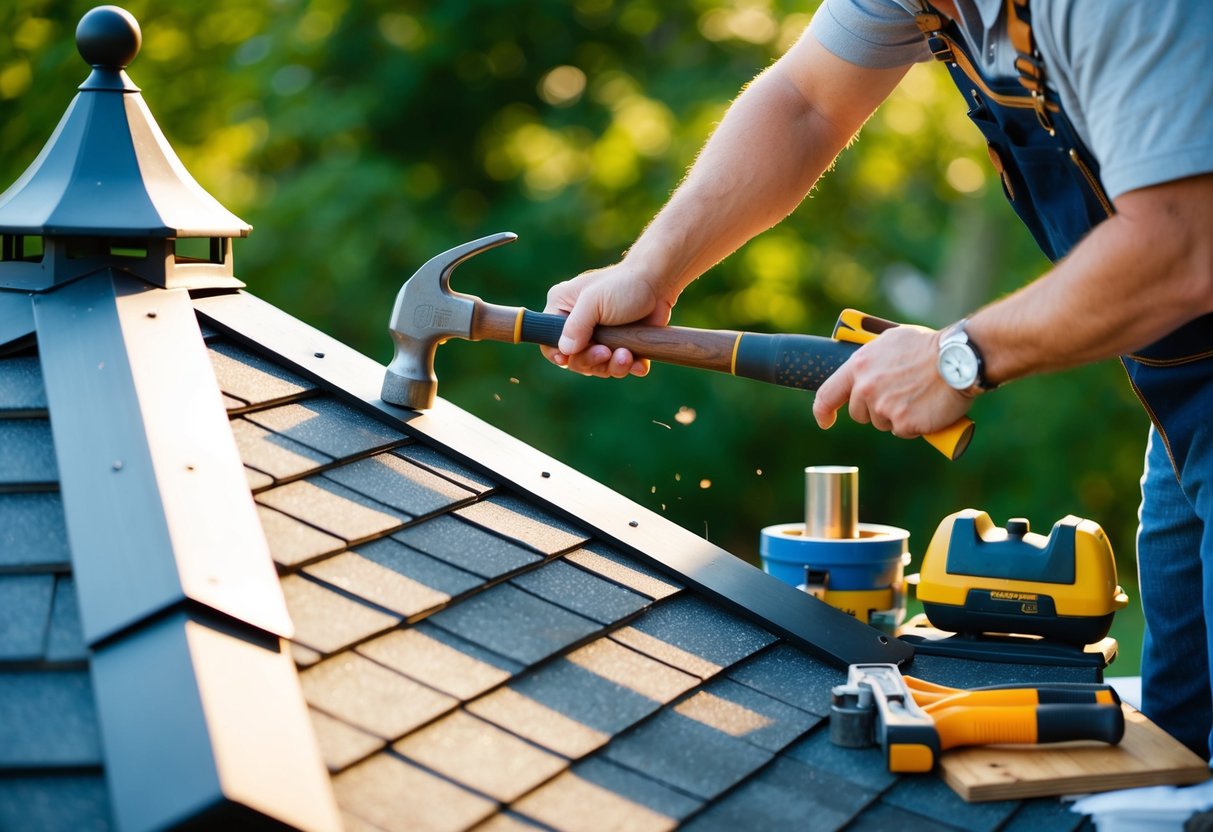
Roofing your gazebo is more than just slapping on some shingles. It’s about making a safe, dry space that looks great and lasts for years. You’ll need to plan carefully, choose the right materials, and follow each step with care. But don’t worry – with a little effort, you’ll have a gorgeous gazebo roof that you can be proud of.
Key Takeaways
- Proper planning and preparation are crucial for a successful gazebo roofing project
- Installing rafters and a ridge beam creates a strong foundation for your gazebo roof
- Regular maintenance helps keep your gazebo roof in top shape for years to come
Materials Needed
To roof your gazebo, you’ll need several key items. Start with roofing shingles – asphalt is a popular choice, but cedar or metal work too. Get plywood sheets for the roof base.
Don’t forget the support structure. You’ll need rafters and a ridge beam to hold everything up. Pick weather-resistant materials that can stand up to the elements.
For fasteners, grab plenty of nails and screws. Make sure they’re galvanized to prevent rust. You’ll use these to secure all the pieces together.
Tools are crucial too. Get a hammer, saw, drill, level, and measuring tape. These will help you cut and place everything just right.
If you’re on a budget, compare prices on roofing materials. Sometimes a gazebo kit can save you money over buying everything separately.
Remember to get enough of each item. It’s better to have a little extra than to run short halfway through your project.
Planning And Preparation
Before you start building your gazebo roof, you need to do some planning. First, measure your gazebo carefully. Get the exact length, width, and height. This helps you figure out how much material you’ll need.
Next, pick the style of roof you want. You can choose a flat roof, pitched roof, or something fancier. Each type has its own look and benefits. Think about what fits your backyard best.
Don’t forget to check your local building codes. Some areas have rules about gazebo size and height. You might need a permit too. It’s better to know this stuff early!
Make a list of all the tools and materials you’ll need. This includes wood, nails, screws, and roofing material. Don’t forget safety gear like gloves and goggles. A hard hat is also a good idea when you’re working overhead.
Set a budget for your project. Gazebo roofs can cost different amounts based on size and materials. Shop around for the best prices on supplies.
Lastly, think about when you’ll build. Pick a time when the weather is good. You don’t want rain ruining your work! With good planning, your DIY gazebo roof project will go smoothly.
Laying The Roof Base
Getting ready to lay the roof base for your gazebo? Let’s jump in!
First, you’ll need to measure and cut plywood sheets to fit your roof frame. Use a circular saw for straight cuts. Make sure the pieces cover the entire frame with no gaps.
Next, it’s time to install the plywood. Grab your hammer and nails or a nail gun. Start at the bottom edge of the roof and work your way up. Nail the plywood sheets securely to the rafters and beams.
Don’t forget about waterproofing! Once the plywood is in place, cover it with roofing felt or underlayment. This extra layer helps keep water out. Overlap the sheets as you go up the roof for better protection.
Here’s a quick checklist to help you out:
- Measure roof frame
- Cut plywood to size
- Nail plywood to frame
- Apply roofing felt
Remember, a solid roof base is key for your gazebo’s structure. Take your time and make sure everything fits snugly. With a good foundation, you’ll be ready for the next steps in no time!
Installing Rafters
Ready to put the roof on your gazebo? Let’s get those rafters in place! First, measure and cut your rafters to the right length. You’ll want them to fit snugly from the top of the posts to the center of the roof.
Next, position the rafters on top of the gazebo posts. Make sure they’re evenly spaced and aligned properly. This will help your roof look neat and stay sturdy.
Time to secure those rafters! Grab your hammer and nails or a drill and screws. Fasten each rafter tightly to the posts and the center beam. Double-check that everything is level as you go.
Don’t forget about knee braces! These angled supports add extra stability. Cut them to size and attach them between the posts and rafters.
For even more support, consider adding collar ties. These horizontal beams connect opposite rafters and help prevent sagging. Measure carefully and install them near the middle of your rafters.
Remember to work safely! Use a sturdy ladder and have a friend help you lift and position the heavier pieces. With patience and care, you’ll have a solid roof frame for your gazebo in no time.
Adding The Ridge Beam
The ridge beam is a key part of your gazebo roof. It runs along the peak and supports the rafters. Let’s get it in place!
First, measure the length needed for your ridge beam. Cut a sturdy piece of lumber to this size using a circular saw. Make sure it’s long enough to span the entire roof.
Now it’s time to lift the beam into position. You’ll need a helper for this step. Carefully raise the beam to the top of your gazebo frame. Place it at the highest point where the roof sides will meet.
To secure the ridge beam, you’ll attach it to the rafters. Here’s how:
- Line up each rafter with the ridge beam
- Use heavy-duty screws or nails to fasten them together
- Make sure connections are tight and secure
For extra stability, you can add metal brackets where the rafters meet the ridge beam. This helps create a strong roof structure that can handle wind and snow loads.
Remember to check that your ridge beam is level before final attachment. A straight, level beam will make the rest of your roofing job much easier!
Installing Roofing Shingles
Start at the bottom edge of your gazebo roof. Place the first row of shingles, making sure they hang over the edge by about an inch. This overhang helps water drip off.
Nail each shingle in place. Put two nails near the top, about 3/4 inch from each side. Don’t hammer too hard – you want the nails flush with the shingle surface.
For the next row, overlap the first row by about 5 inches. This overlap keeps water out. Keep this same overlap for each new row as you move up the roof.
As you work, cut shingles to fit around corners or edges. A utility knife works well for this. Be careful and take your time.
When you reach the top, you’ll need ridge caps. These special shingles cover the peak where roof sides meet. They give your gazebo a finished look and keep water out.
To install ridge caps, bend them over the roof peak and nail them down. Start at one end and work your way across, overlapping each cap as you go.
Remember to wear gloves and be careful on the roof. Taking your time will give you a great-looking gazebo that keeps you dry for years to come.
Finishing Touches
Now that you’ve built the main structure of your gazebo roof, it’s time to add those final touches. Let’s start with the fascia. This decorative board runs along the lower edge of the roof, giving it a polished look. Measure and cut your fascia boards to fit, then nail them in place.
Next up: gutters. These aren’t just for show – they help direct rainwater away from your gazebo. Attach them to the fascia using brackets and make sure they slope slightly towards the downspouts.
Want to take your gazebo to the next level? Consider adding a cupola. This small, dome-like structure sits on top of the roof and can really make your gazebo stand out. You can buy pre-made cupolas or build one yourself if you’re feeling handy.
Don’t forget to trim any overhanging shingles. Use a sharp utility knife to cut them flush with the edge of the roof. This gives your gazebo a neat, tidy appearance.
Finally, seal all the edges and seams. This step is crucial for keeping water out. Apply a good quality exterior sealant around vents, along the roof edges, and anywhere else water might sneak in.
With these finishing touches, your gazebo roof is complete and ready to withstand the elements while looking great!
Maintenance Tips
Keeping your gazebo roof in good shape is key to its long life. You should check it often for any damage or wear. Look for cracks, loose shingles, or spots that might let water in.
Clean your gazebo roof regularly. Sweep off leaves, twigs, and other debris. This stops them from holding moisture against the roof.
Don’t forget to wash the roof now and then. Use mild soap and warm water. A soft brush can help scrub away dirt without hurting the roof material.
Resealing is important too. Every few years, put on a new coat of sealant. This keeps water out and protects the roof from sun damage.
In winter, clear snow off the roof. Too much weight can harm the structure.
Here’s a quick checklist for gazebo roof care:
- Check for damage monthly
- Clean debris weekly
- Wash roof twice a year
- Reseal every 2-3 years
- Remove snow as needed
By following these tips, you’ll keep your gazebo roof strong and beautiful for years to come.
Frequently Asked Questions
Gazebo roofing can bring up many questions. Here are answers to some common ones about options, replacements, and choosing the right style.
What are some affordable options for roofing a backyard gazebo?
Asphalt shingles are a budget-friendly choice for gazebo roofs. They’re easy to install and come in many colors.
Metal roofing is another cost-effective option. It lasts a long time and needs little upkeep.
Polycarbonate panels are light, strong, and let in natural light. They’re a good middle-ground option for price and durability.
What are the steps to replacing an old gazebo roof?
First, remove the old roofing material and check the frame for damage.
Next, add new underlayment to protect against leaks.
Then, install your new roofing material starting at the bottom edge.
Work your way up, overlapping each row. Finish by adding ridge caps along the peak.
What factors should be considered when choosing the best roofing style for a gazebo?
Think about your local climate. Some materials hold up better in certain weather.
Look at your gazebo’s design. The roof should match its style.
Consider how much upkeep you want to do. Some roofs need more care than others.
Your budget matters too. Prices vary a lot between different roofing types.
Think about how long you want the roof to last. Some materials have longer lifespans.
