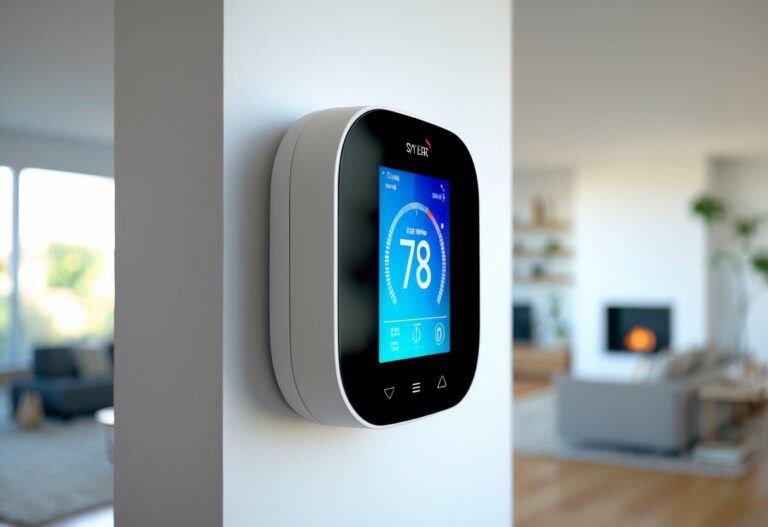
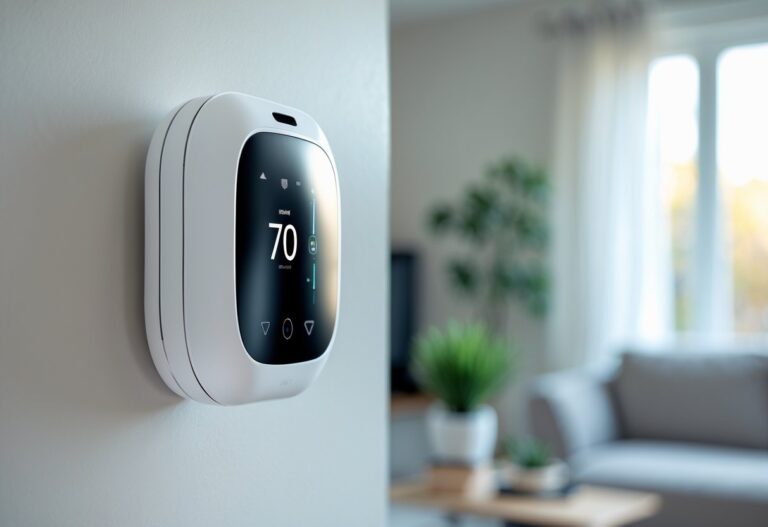
Thinking about upgrading to a smart thermostat? It’s one of the easiest ways to gain more control over your home’s temperature and save on energy bills. You can install a smart thermostat yourself by following a few key steps and making sure your current wiring is compatible.
Installing a smart thermostat isn’t just about swapping devices—it involves turning off your HVAC system, connecting the correct wires, and setting up smart features using your home’s Wi-Fi. Whether you’re new to thermostat installation or just want an upgrade, knowing what to expect can make the process much smoother.
Key Takeaways
- Get ready for installation by checking compatibility and turning off power.
- Follow step-by-step instructions for wiring and mounting your smart thermostat.
- Use your Wi-Fi to access smart features and adjust your settings.
Preparing for Smart Thermostat Installation
Before installing a smart thermostat, you need to check your home’s heating and cooling system, collect the right tools, and learn about the wires you will connect. Careful preparation helps prevent mistakes and problems during installation.
Verifying System Compatibility
You should know if your HVAC system can work with a smart thermostat. Most smart thermostats support common systems like central air, heat pumps, and furnaces, but some older or specialty systems may not be compatible.
Check your current thermostat and the wires behind it. Many smart thermostats need a “C-wire” (common wire) for power. If your setup does not have this wire, you may need an adapter, or your new thermostat might not work properly.
Read the installation guide that comes with your smart thermostat. Many brands, like Nest or Ecobee, offer online tools or charts to help you check compatibility. Always turn off your HVAC system at the breaker before you do any electrical checks.
Gathering Tools and Materials
Getting the right tools and materials before you start makes the job easier and safer. Basic hand tools include a screwdriver and pliers. You should also have small wire labels or masking tape and a pen to mark the wires as you disconnect them.
Some installations may require wire nuts or a drill, depending on your wall type. Many smart thermostats come with screws and mounting plates, but double-check the box before you begin.
A checklist can help keep you organized:
| Needed Item | Purpose |
|---|---|
| Screwdriver | Remove/attach screws |
| Pliers | Grip and bend wires |
| Wire labels | Mark and identify wires |
| Wire nuts | Cover joined wires |
| Drill | Make holes (if necessary) |
Make sure your Wi-Fi network is working too, since most smart thermostats need internet to function fully.
Understanding Thermostat Wiring
Knowing the wires in your current thermostat lets you install the new one safely. Most thermostats have colored wires, such as red (power), white (heat), yellow (cooling), green (fan), and blue or black (C-wire or common wire).
Use your phone to take a clear photo of the wiring before you disconnect anything. This helps you remember how they were attached.
Some HVAC systems use more or fewer wires, so always check the labels. Do not guess which wire goes where. Use the installation guide or the wiring sticker sheet provided by the thermostat manufacturer. If the wiring looks confusing or you are unsure, it may be safer to call a professional.
Step-by-Step Installation Process
Upgrading to a smart thermostat involves safely removing your old unit, carefully connecting wires, and setting up your new device to work with your HVAC system and smart home app. Completing each stage with attention to detail helps prevent wiring mistakes and makes sure your thermostat installation works as intended.
Removing the Old Thermostat
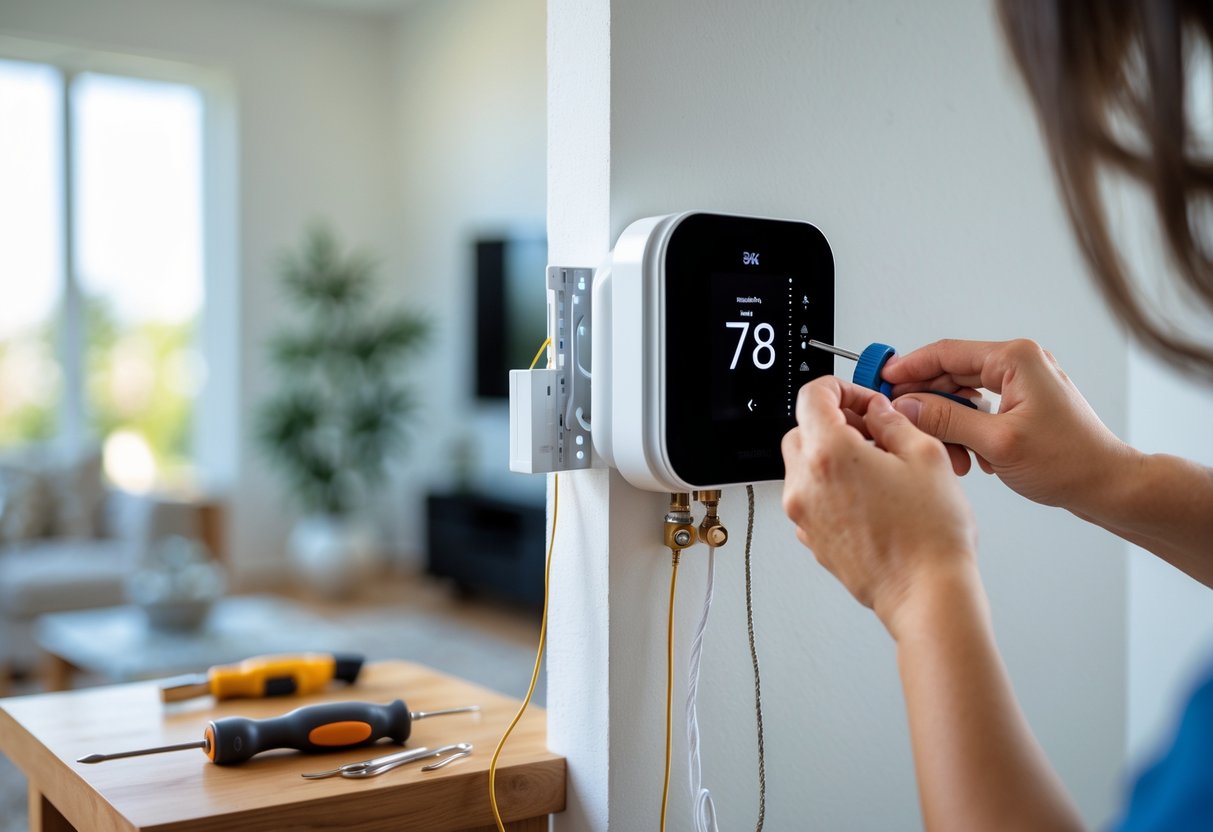
Before starting, turn off the power to your HVAC system at the circuit breaker. This keeps you safe while working with electrical wiring. Remove the thermostat cover to expose the wiring.
Take a clear photo of the existing wire connections. Label each wire using wire labels or small pieces of tape. This makes it easy to match them to the correct terminals on your new smart thermostat.
Unscrew the wires from the old thermostat base using a small screwdriver. Gently pull the wires through the base plate so they don’t fall back into the wall.
Finally, remove the old base plate from the wall. Keep the wires visible and separated to avoid confusion during the new thermostat installation.
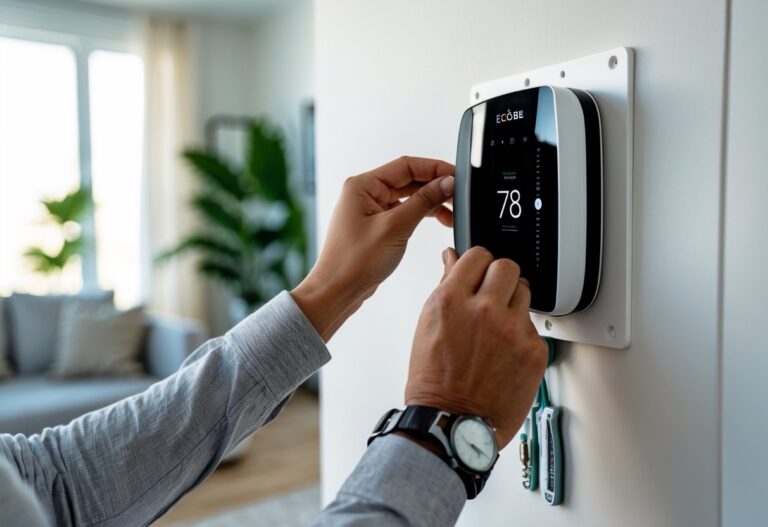
Installing the Smart Thermostat
First, check if your new smart thermostat needs a c-wire (common wire) for power. Many models require this to function correctly. If your HVAC system does not have a c-wire, you might need an adapter or professional help.
Hold the base plate of the smart thermostat against the wall and mark the screw holes with a pencil. Drill pilot holes if necessary, then fasten the base plate to the wall with the provided screws.
Feed the labeled wires through the hole in the center of the base plate. Make sure the base sits flat on the wall and is secure.
Attach any included wall trim or decorative covers if provided in your smart thermostat installation kit. This gives a clean finish around the base.
Wiring and Securing Connections
Insert each labeled wire into the correct terminal on the new thermostat according to the manufacturer’s instructions. Most terminals are marked (for example, R, W, Y, G, and C).
Tighten the terminal screws to ensure a solid connection. If any wires are frayed, trim and re-strip them for a clean fit. For unused wires, cap them with small wire nuts to prevent accidental contact.
Check that none of the wires are touching each other and that all connections are snug. Double-check against your earlier photo for accuracy. Proper wiring is critical for your smart thermostat and HVAC system to work safely.
Configuring Initial Settings
Once your smart thermostat is wired and mounted, snap on the faceplate or display. Restore power to your HVAC system at the breaker. The thermostat should light up and guide you through on-screen setup.
Select your language, connect to your Wi-Fi network, and download the smart home app recommended by the manufacturer. The app typically walks you through linking the thermostat to your home’s system.
Enter details about your home, such as ZIP code, preferred temperature range, and HVAC type. Test the system to make sure heating and cooling respond to adjustments from both the wall unit and your phone.
Finish by checking that scheduling and smart features—like remote control or learning—are set up correctly in the app. This ensures your installation gives you the full benefits of your upgrade.
Connecting and Setting Up Smart Features
Smart thermostats need an internet connection and smart home integrations to unlock all their features. Setting these up lets you adjust temperature from anywhere, use voice control, and automate your heating and cooling based on your routine.
Connecting to Home Wi-Fi
Begin by placing your smart thermostat onto its base and restoring power to your HVAC system. Next, power on the thermostat and look for setup prompts on its display screen.
Select your home Wi-Fi network from the menu. Enter your Wi-Fi password using the touchscreen or the app, depending on the thermostat brand. Connecting your thermostat to Wi-Fi is needed for features like remote control, software updates, and smart scheduling.
A stable connection is important for day-to-day use and updates. If your Wi-Fi signal is weak, try moving your router or installing a Wi-Fi extender. Without a good connection, you may lose some smart features.
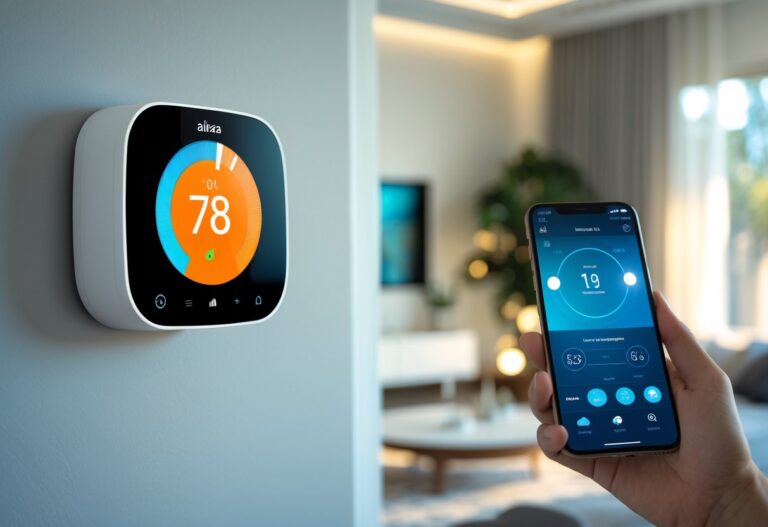
Integrating with Smart Home Platforms
After Wi-Fi setup, link your thermostat to smart home systems like Apple HomeKit, Amazon Alexa, or Google Home. This allows you to control temperature with voice commands and group your thermostat with other smart devices.
Each platform has its own steps for linking. Usually, you open the related app (like Alexa or Google Home), add your thermostat as a new device, and follow on-screen instructions. Most smart thermostats, like Ecobee or Google Nest, show up quickly if you’re already signed in and on the same Wi-Fi.
Integrating with these platforms supports features like voice control, geofencing, and automation routines. This makes it easier to manage comfort at home with simple commands, like “Alexa, set the heat to 72 degrees.”
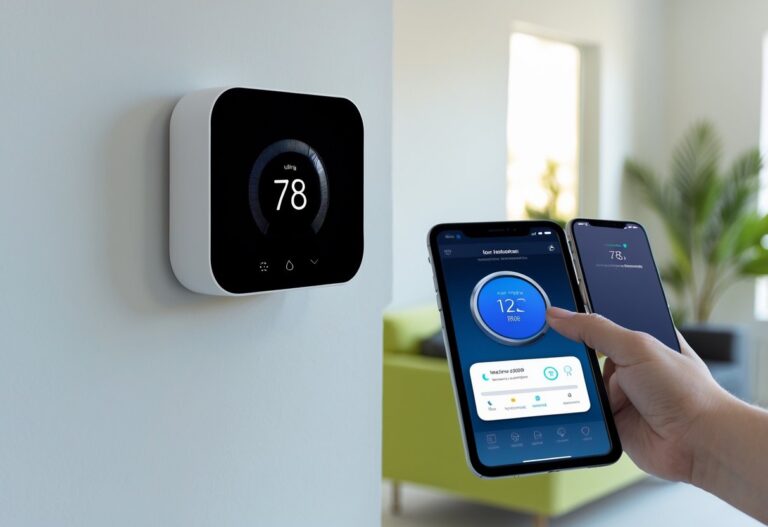
Setting Up Mobile App and Remote Access
To use your thermostat away from home, download the manufacturer’s mobile app. Popular brands like Ecobee and Google Nest offer free apps for both iOS and Android.
Open the app and sign up for an account if you don’t have one. Link your thermostat by following the app’s setup guide, which usually involves scanning a QR code or entering a setup code shown on the thermostat’s screen.
Once set up, you can control your system remotely, edit schedules, enable geofencing, and get alerts about your HVAC system. Some apps also show energy usage data, making it easier to save energy and monitor your home’s comfort.
Optimizing and Troubleshooting Your Smart Thermostat
Setting up your smart thermostat is just the start. You can often lower your energy costs, increase comfort, and find issues fast by learning how to adjust key features.
Customizing Heating and Cooling Settings
Most smart thermostats let you set schedules for different days and times. This means you can keep your home comfortable when you are there and save energy when you are not.
To set a schedule, use the app or the thermostat’s screen. Often, you can choose “home,” “away,” or “sleep” modes. Here’s what you might set:
| Time of Day | Setting | Temperature |
|---|---|---|
| 6:00 AM | Wake | 70°F (21°C) |
| 8:00 AM | Away | 62°F (17°C) |
| 5:00 PM | Home | 70°F (21°C) |
| 10:00 PM | Sleep | 66°F (19°C) |
Some models learn your schedule over time. Keep an eye on your settings and adjust them if your routine changes. If needed, set up extra features like geofencing so the system reacts automatically when you leave or arrive.
Improving Energy Savings
A smart thermostat upgrade can improve energy efficiency and lower monthly bills when used properly. Use the energy reports and suggestions most devices offer through their app.
Check for features like eco mode or energy saver options. These automatically adjust your system to use less power when possible. Adjust the temperature by a few degrees—this small change can have a noticeable impact.
Use reminders to change air filters often, as clean filters help your system run smoothly. If your device offers tips or energy comparisons, review them each month to spot any patterns and savings.
Diagnosing Installation Issues
If your smart thermostat is not working right, start by checking that the power is on and all wires are secure. Common problems include no display, Wi-Fi connection issues, or heating and cooling not turning on.
Review the installation instructions again, paying close attention to the wiring. Smart thermostats may need a C-wire for power; missing this can cause the device to reset or not turn on.
If problems continue, try restarting both your Wi-Fi router and the thermostat. For stubborn issues, check the manufacturer’s troubleshooting guide or contact professional help if you notice wiring problems or system errors you can’t solve.
Use the table below for common issues:
| Problem | Possible Fix |
|---|---|
| No power/display | Check wiring, C-wire |
| Wi-Fi won’t connect | Restart router |
| System not heating/cooling | Review wiring, settings |